Here is a process to creating custom curtain or fabric textures with Photoshop.
Create a new Document of your preset choice.
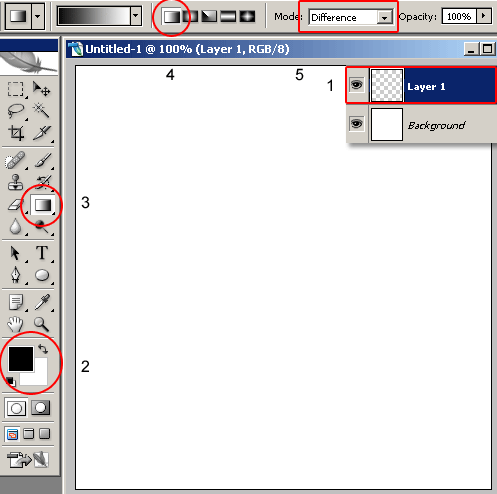
The set up your document area as outlined below:
1. Create a new Empty Layer.
2. Set your ‘Foreground Color’ to your preference. I used Black #000000.
3. Select the ‘Gradient Tool (G)’ from the Toolbar.
4. Then go to the ‘Options Bar’ and Select the ‘Linear’ gradient Style.
5. Move just to the right of the Styles presets and adjust the ‘Mode’ to Difference.
As demonstrated below: (portion of the original document)
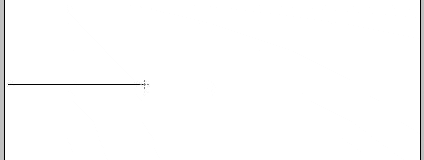
1. Start from the left of the Document area.
2. Click + Drag in a short distances until you’ve reached the right side of your document.
3. Then repeat from right to left, as demonstrated below.
(Explore with slight angles for more variations and repeat as often as you like)
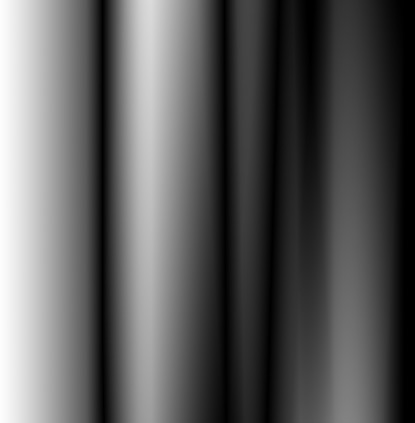
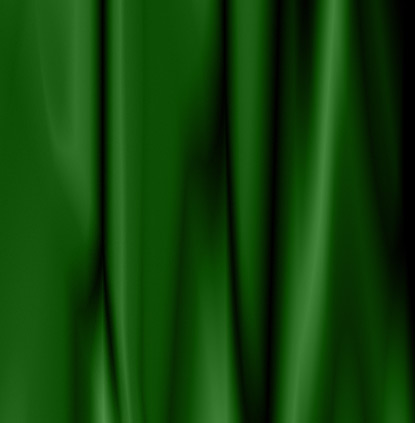
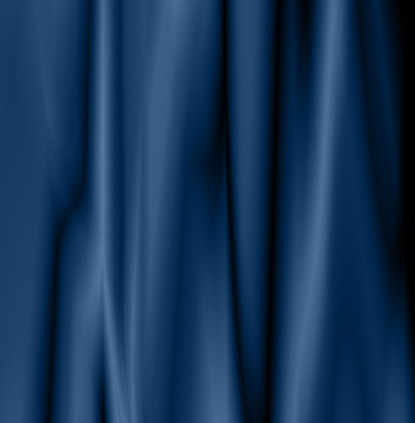
The above brief introduction produced the following curtain-like texture.
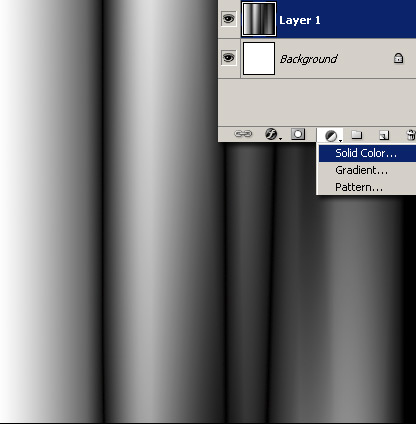
Next lets just add some color to this effect.
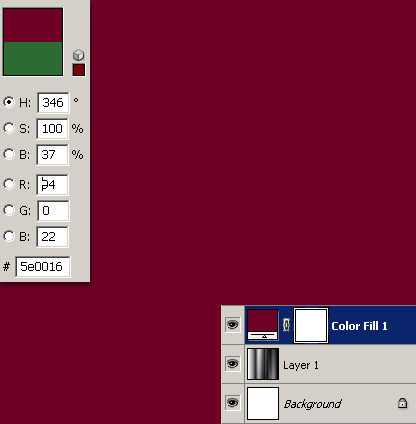
Activate the new Layer, then select the ‘New Fill…’ icon on the bottom of the Layers Palette, and from the list select ‘Solid Color’, as I have captured below.
At the next Color Fill dialog prompt select your color preference, I went for a burgundy variation – lower left, then click the OK command to commit the changes.
The new Color Fill layer is then added to the Layers Palette as captured below (lower right).
Finally, lets blend this color into the curtain effect texture below it.
Activate the Color Fill layer, and adjust the ‘Blend Mode’ from ‘Normal’ to ‘Color’ and bump down the ‘Opacity’ to get the below blend effect.
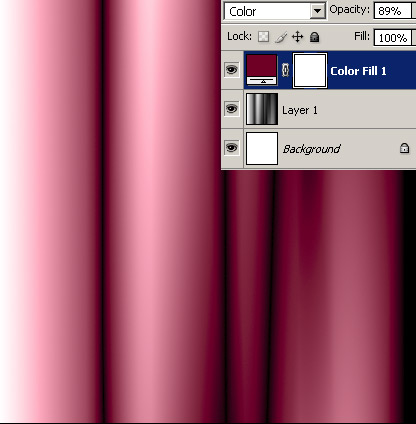
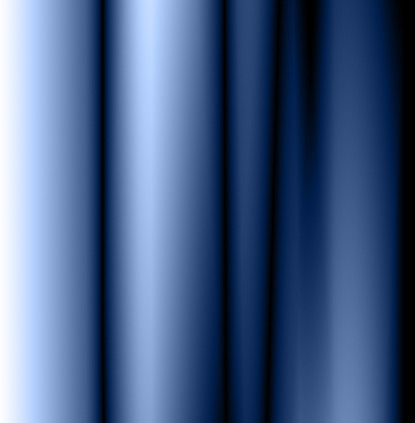
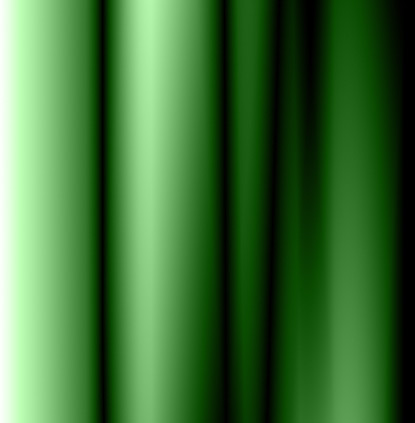
Remember if your not content with the choice of color, double click the Color Fill layer thumbnail to get back to the Color Fill dialog to select a new color. Other Color variations below.
The following two examples applies a repeated gradient pass on ‘Layer 1’ as in the above animated demo.
With this simple process try the Displacement Map tutorial that makes use of textures like this.