Here is a neat way to blend elements, particularly textual, into fold textures seemlessly.
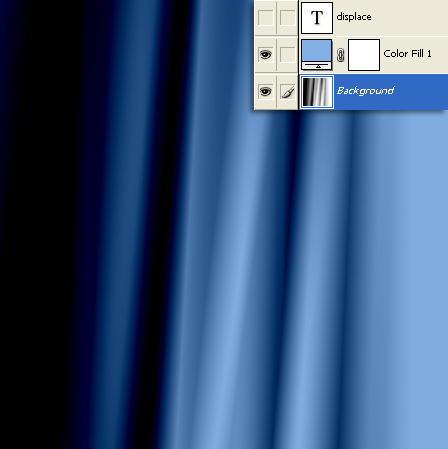
Below is a sample custom satin curtain effect I created. (Right click and copy into Photoshop to follow along)

Before doing anything else, save this new Photoshop document to your desktop and call it ‘displace’.
This will be used again later in the tutorial.
My layers palette has an optional color fill layer since the original way created with black to white.
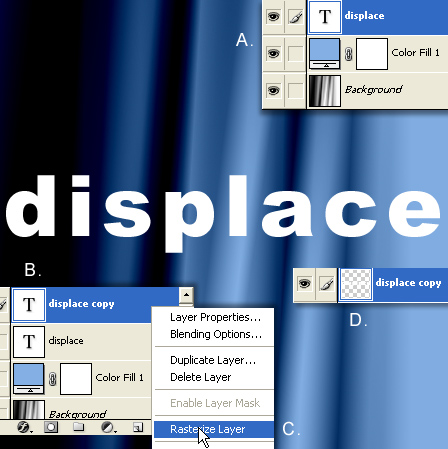
A. Add a type layer as I have captured. (I used ‘Arial Black/Bold)
B. (Optional) Duplicate the type layer, and hide the original.
C. Right click on the duplicate type layer and choose Rasterize from the list.
D. Type is now rastered.
With the rastered type layer still active, go ‘Filter/Distort/Displace’ as I have captured.
Adjust the settings to what I have captured below.
Select the ‘displacement map’ file you saved earlier, located on your desktop. Then click OK.
The rastered type layer is now displaced according to the contrast tones of the applied file, as captured below.

Not exactly, convincing, but just a few tweaks to really pull the effect off.
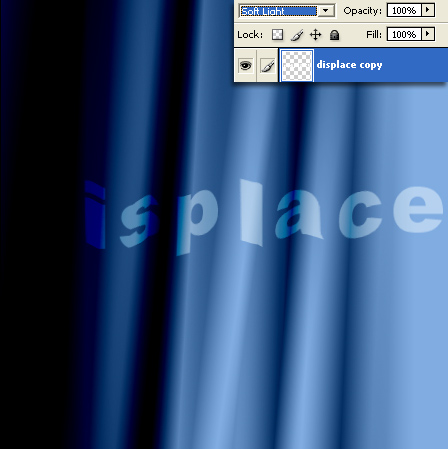
Select the rastered type layer and simple change the Blend Mode to ‘Soft Light’.
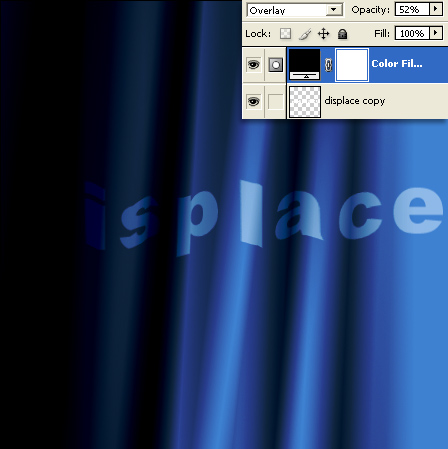
For further blending realism (guess all depends on your desired result) I added a Solid(#000000) Color Fill Layer above the rastered type layer, changed its Blend Mode to ‘Overlay’ and lowered its Opacity to 52%.
Added a spotlight and drop shadow for a decal effect.

To find out how I created the initial texture, review this Custom Curtain Tutorial here.