Follow these steps to create animated menus. This tutorial assumes you have a working knowledge of creating animations.
Create Menu Shapes
B. Activate ‘Options Bar’ ‘Shape Layers’ feature for the ‘Rectangle Tool’.
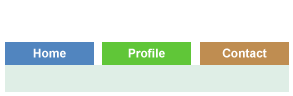
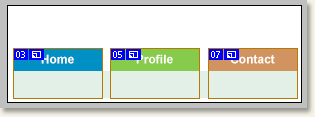
C. As captured below, draw equal shapes to represent the background for your menus.
Choice of colors is up to you.
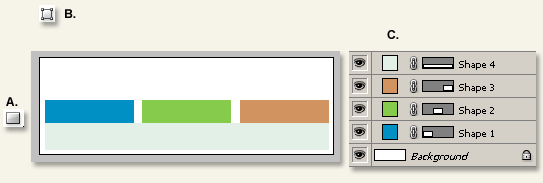
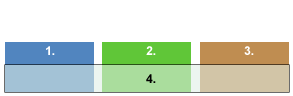
Shapes 1-3 length below and that Shape 4 is used to hide portions of them.
Also make sure there is room above (my white area) for the animation.
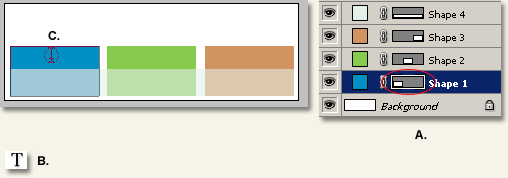
Create Text Captions.
B. Activate the Type Tool from the Toolbar..
C. Now mouse over the ‘Shape 1’ until you see the Type inside shape cursor as captured below.
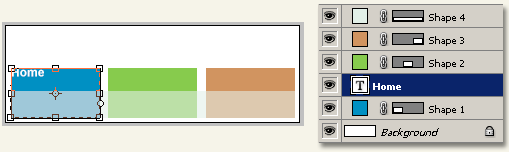
At seeing the above step C. type inside a shape cursor, click once and at the insertion point type the word ‘Home’, as I have captured below.
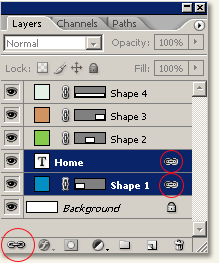
The new type layer is also added to the ‘Layers Palette’ directly above the ‘Shape 1 Layer’.
The new type inside a shape defaults to the upper left corner, so go ‘Window/Character’ to bring the Character Palette and set the following format options.
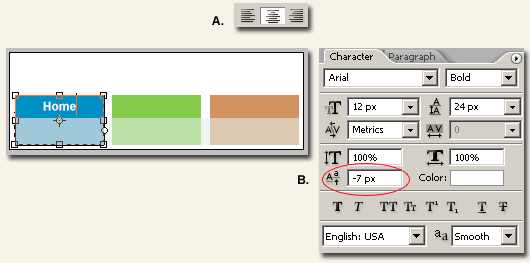
A. Go to the Options Bar and Center Align the text.
B. Then go to the Character Palette and adjust the Base Line Shift integer (encircled in Red).
Adjust the Color, Font Face and Size to your preference.
Link Menu Shape to Menu Caption.
Next, Hold the Shift key and select both the Home type Layer and Shape 1 Layer, then hit the Link icon located at the bottom of the Layers Palette.
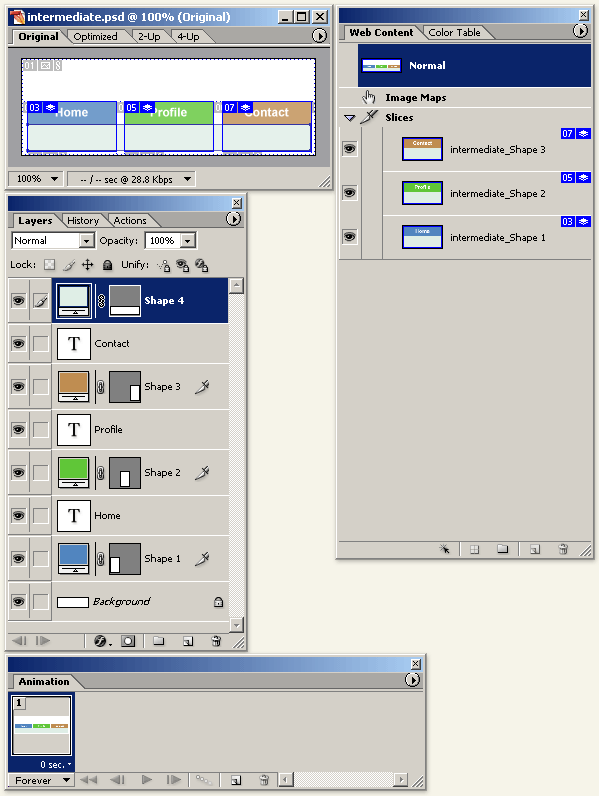
Add Layer Based Slices
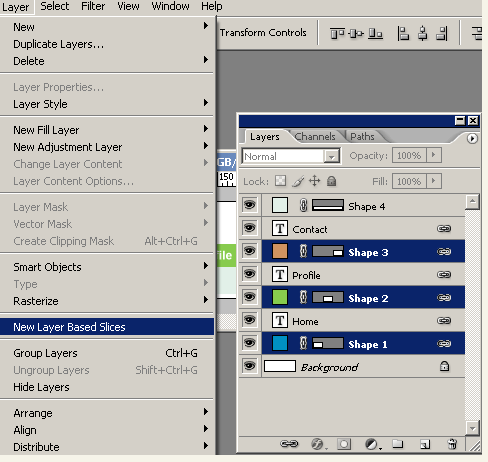
Ctrl + Click on each of the Shape Layers to multi-Select them from the Layers Palette.
Then go ‘Layer/New Layer Based Slices’ to add them all in one swoop, as captured below.
Your document view should now have Layer based slices as captured below.
Download Intermediate file here.
Animate the Menus.
From Photoshop hit the ‘Jump to ImageReady icon on the Toolbar. ![]()
In ImageReady, go ‘Window’ command and select ‘Animation’ and ‘Web Content’ to bring them to the foreground, as captured below.
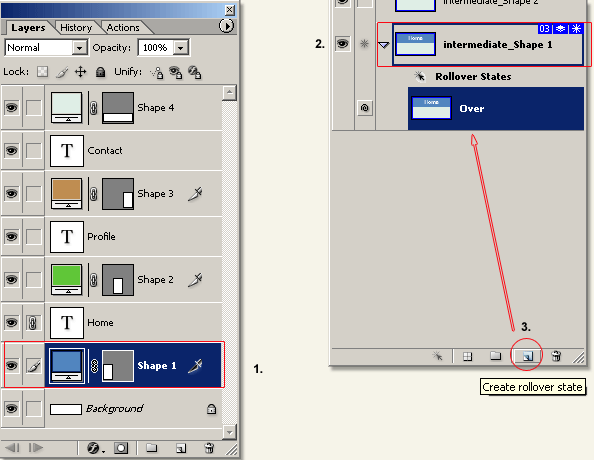
1. Activate Shape 1 Layer.
2. Activate Slice 3 of Shape 1 Layer in the Web Content Palette.
3. Hit the add New Over State icon.
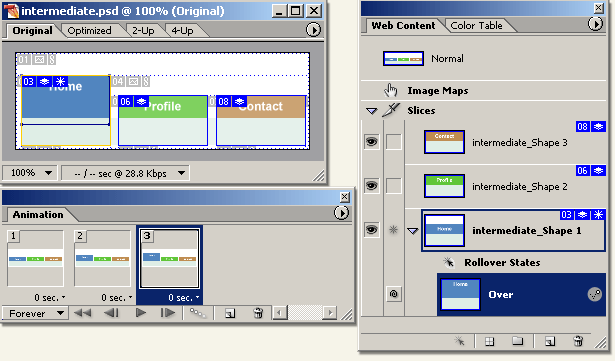
1. With the Over State still active…
2. Go to the Animation Palette and hit the duplicate current Frame icon (encircled in red)
3. The hold the SHIFT KEY and hit the UP ARROW KEY once to nudge the entire Shape 1 layer and its linked type layer upward.

Repeat the Duplicate Animation Frame, Shift + Up Arrow process so that there are three frames to the animation onto the OVER State.
Repeat Over State creation and 3 frame animation for the remaining two Shapes.