Simulate professional studio backdrops for your products with ease by following these few steps.
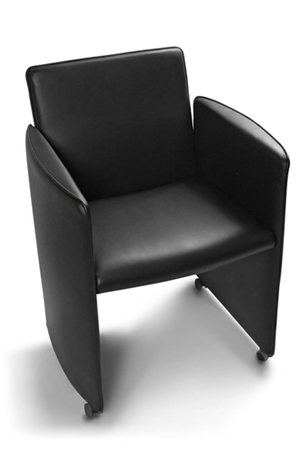
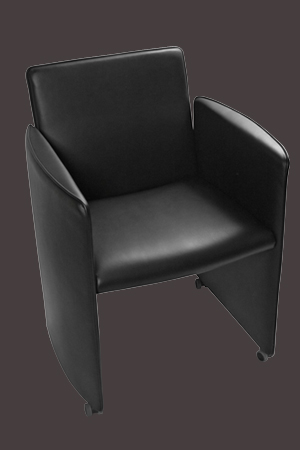
To begin, lets use an product image sample (captured below) of a leather chair courtesy of AbsolutVision Photo Gallery.
Click image to download starter file.
AbsolutVision photos come complete with path outlines, so the process to separate the chair from the white background is a breeze.
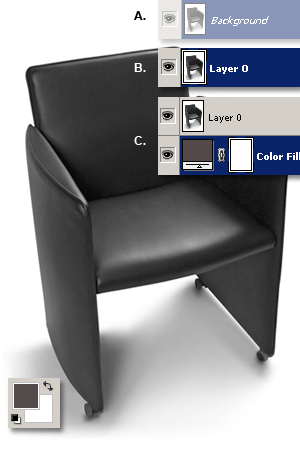
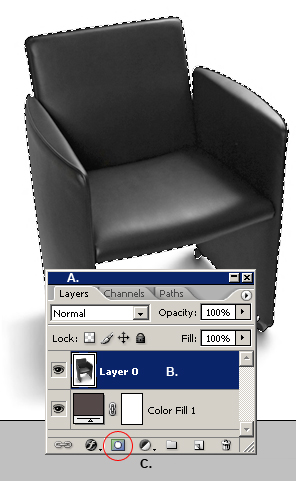
Double click the background layer (A) to convert it to a free floating layer (B) to the default title of Layer 0.
Then create a new Color Fill Layer to your desired color (I used #534b4c – Later decide to change this color) and place it at the bottom of the stacking order in the Layers Palette (C), as captured below.
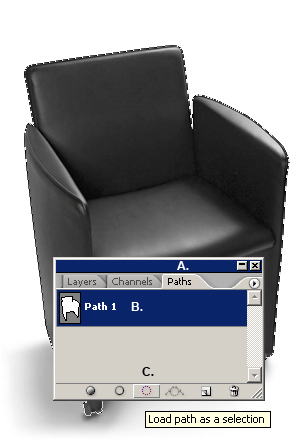
Switch to the Paths Palette (A), activate the path outline (B), then click the Load Path As Selection icon command at the bottom of the Paths Palette (C).
You should now see a marquee selection around the chair, as captured below.
Switch to the Layers Palette (A), activate the product shot, Layer 0 (B), then click the Add Layer Mask icon command at the bottom of the Layers Palette (encircled in red) (C).
This process will knock out everything but the chair subject, as captured below, allowing the Color Fill created earlier to come through. Explore other Color Fill colors depending on your subject matter.
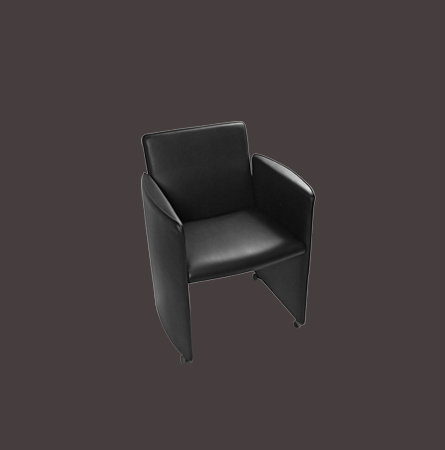
Next, to account for more backdrop space, use the Crop Tool to enlarge your document canvas area and/or scale down the subject to the center of the canvas, as captured below. (I did both Crop and Scale)
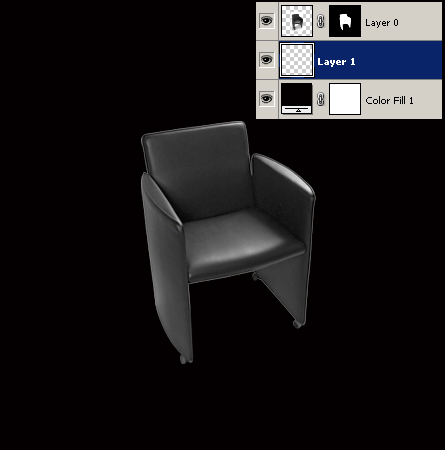
Create a new empty Layer (Layer 1) between the subject and the Color Fill Layer as captured below.
I also changed the Color Fill to black as captured below.
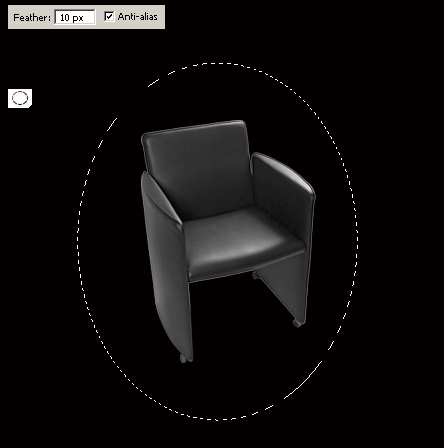
With Layer 1 active, activate the Elliptical Marquee Tool from the Toolbar, set the Options Bar Feathering to 10 px, then click and drag to draw a selection as I have captured.
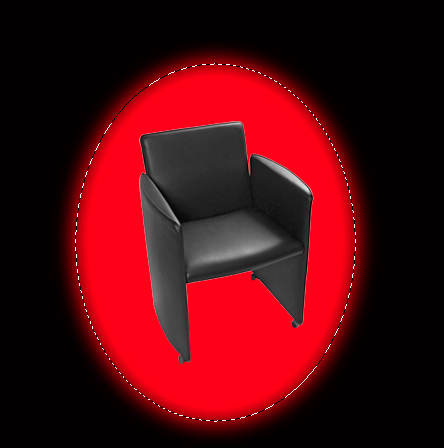
With the selection still active, go ‘Edit/Fill’ and in the USE select Color from the drop down list and choose red, as I have captured.
Still with the selection active, hit the Ctrl + T keys to enable Free Transform, then hold the Ctrl key and click and drag any of the corner handlers to reposition,as I have captured below.

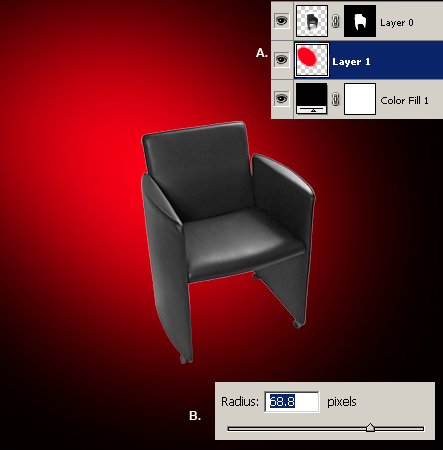
With Layer 1 active (A) active, go ‘Filter/Blur Gaussian Blur’ and explore the settings (B) as I have captured, then click OK to commit the Blur changes.
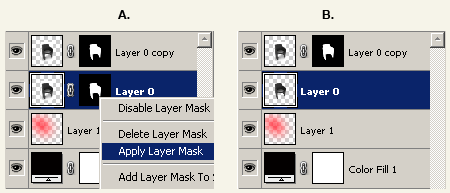
Duplicate Layer 0 to get Layer 0 copy.
Activate Layer 0, right click and from context list choose Apply Layer Mask. (A)
Ctrl click the Layer 0 thumbnail icon in the Layers Palette to get its selection.
Then Edit/Fill and USE: Color of Black.
Ctrl + T to Free Transform and reposition the shadow to something similar to mine.
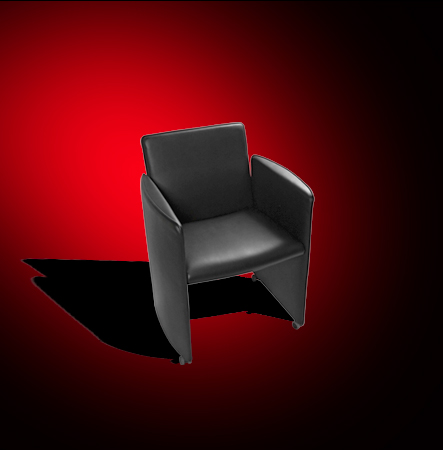
Next apply a Filter/Gaussian Blur to the Layer 0 shadow layer as I have captured below.

Finally, lets eliminate the halo around the chair, as captured below.
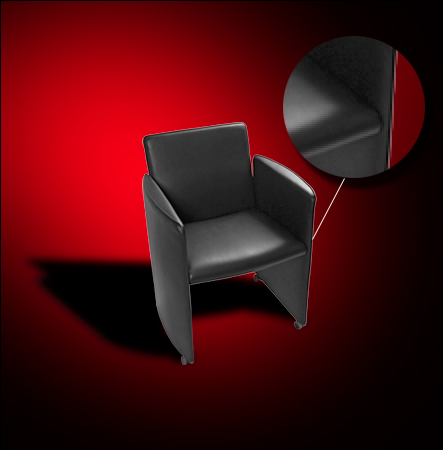
Click the Layer 0 copy LAYER MASK THUMBNAIL icon in the Layers Palette (encircled in red)

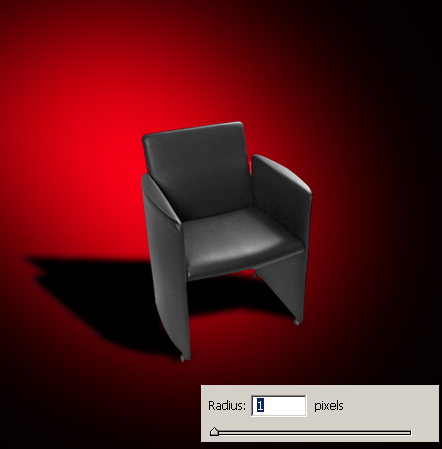
Then go Filter/Other/Minimum and set the radius to 1.
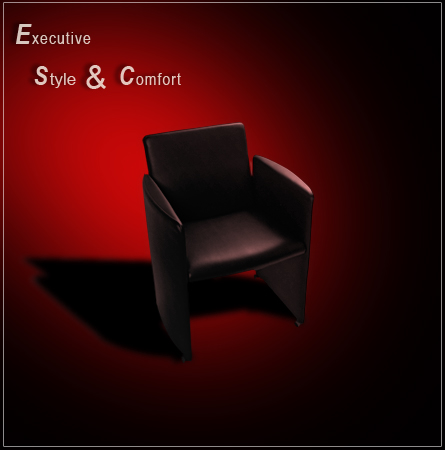
Final version with a few embellishments.