Here’s a simple trick to create a sketch effect.
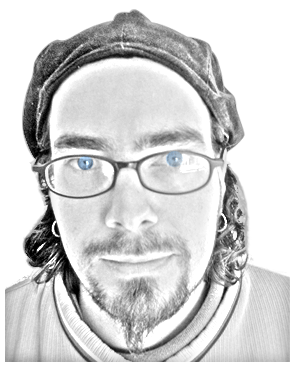
First, open the image you want to ‘sketch’. (Me)

-
For best practice, I will utilize a ‘Layer Set’ (called Sketch) in this tutorial, and place the original image layer in there.Duplicate, the original photo/image layer (I called mine ‘copy’), and hide the original.
Select the copy layer, then go to ‘Image > Adjustments > Desaturate’.(Alternately, PC Shortcut: ‘Ctrl + Shift + U’ = Desaturate | Mac Shortcut:’Cmd + Shift + U’ = Desaturate.)
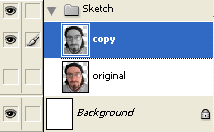
Above is what your ‘Layers Palette’ would look like, and below is the ‘Desaturated’ image.
-
Next, duplicate the ‘copy’ (desaturated) layer.
Select that layer, then go to ‘Image/Adjustments/Invert’.(Alternately, PC Shortcut: ‘Ctrl + I’ = Invert | Mac Shortcut: ‘Cmd + I = Invert)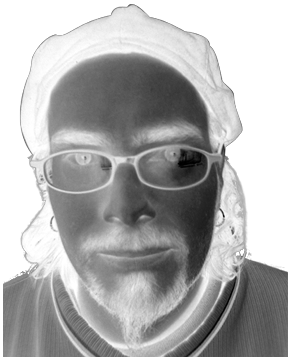
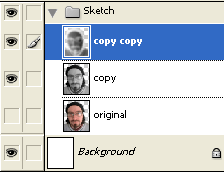 Above is what your ‘Layers Palette’ would look like, and below is the ‘Inverted’ image.
-
Now, Select that ‘inverted’ layer, in the ‘Layers Palette’, and from the ‘Blending Modes’ drop down list, choose ‘Color Dodge’.
(Alternately, PC Shortcut: ‘Alt + Shift + D’ = Color Dodge. Mac Shortcut: ‘Option + Shift + D’ = Color Dodge.)
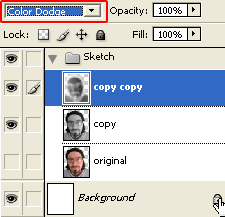 Above is what your ‘Layers Palette’ would look like, and below is the ‘Color Dodge’ image.
It should be mostly white. (Mine is not, only because I previously cut the background out of the image.) -
Finally, have the ‘Color Dodge’ layer selected and go to ‘Filter/Blur/Gaussian Blur’ and toy with the ‘Radius’ integer. In this case, a ‘radius’ from ‘1-9’ worked best. Anything after that it just restored the image back to what it looked like when we desaturated it.

Works well on all sorts of image types

