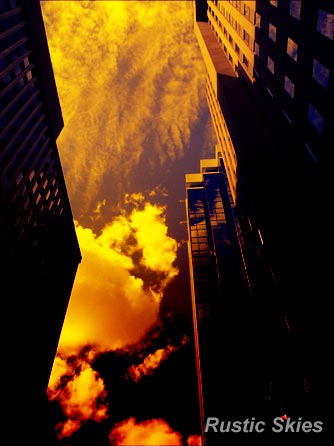
Transform this sky photo into a rustic scenery.
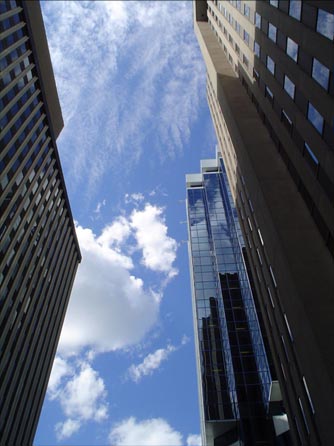
Below is the image I took while on a vacation in August 2004.
To begin, lets duplicate the ‘background’ layer & set its Blend Mode to ‘Overlay’.
Next, at the bottom of the layers palette, select the ‘Add New Fill…’ icon (encased in red) and from the list choose ‘Gradient Map’
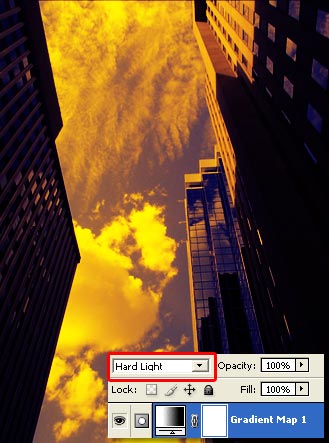
At the next prompt, set the gradient preset to ‘Violet, Orange’.
Then set that ‘Gradient Map 1’ layer Blend Mode to ‘Hard Light’.
Optional: Add a Gradient Fill Layer to the top of the stack, with ‘Black,White (#000000,#ffffff) preset & change its Blending Mode to ‘Color Burn’.
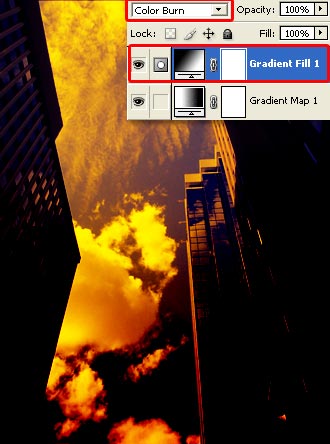
Here is the resulting effect.