Here is a simple way to get comfortable using Path Tool.
Start a new document. Your preset choice.
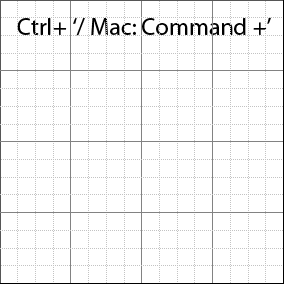
Then hit the Ctrl+’ (Mac:Command+’) to turn on the Grid, as I have captured below.
Alternatively, ‘View/Show/Grid’.
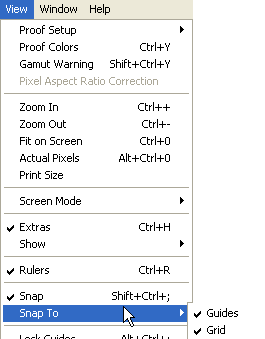
Next, enable ‘Snap To/Grid’ via the same Window command as captured below.
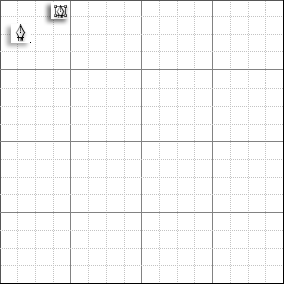
Next, select the Pen Tool (P) from the Toolbar and enable the ‘Paths’ Option Bar feature for this active tool, as I have captured below.
Then attempt to mimic the short demonstration I have captured below, ensure that on each click (Adding an Anchor Point) snaps to your chosen grid line.
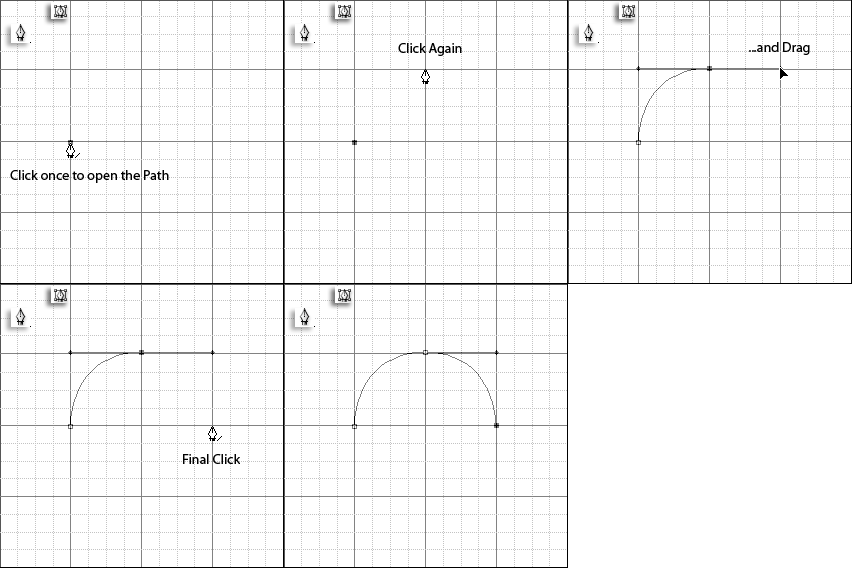
The above example creates a simple half circle in a simple click, click and drag and click motion.
It’s easy to see that using the Snap To/Grid’ option can help you get a better grasp using the Path Tool or for even creating precision Paths when tracing over objects.
Below follow’s the same above technique to complete a closed circular path.
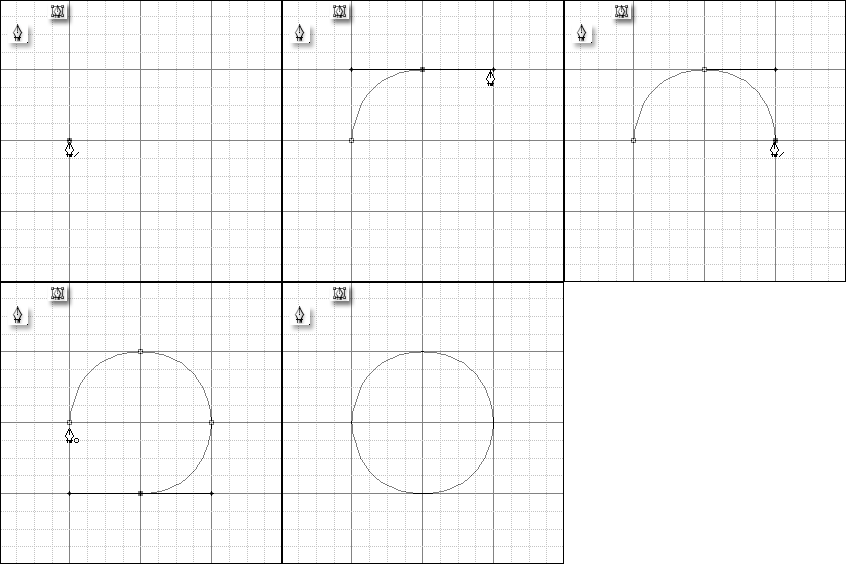
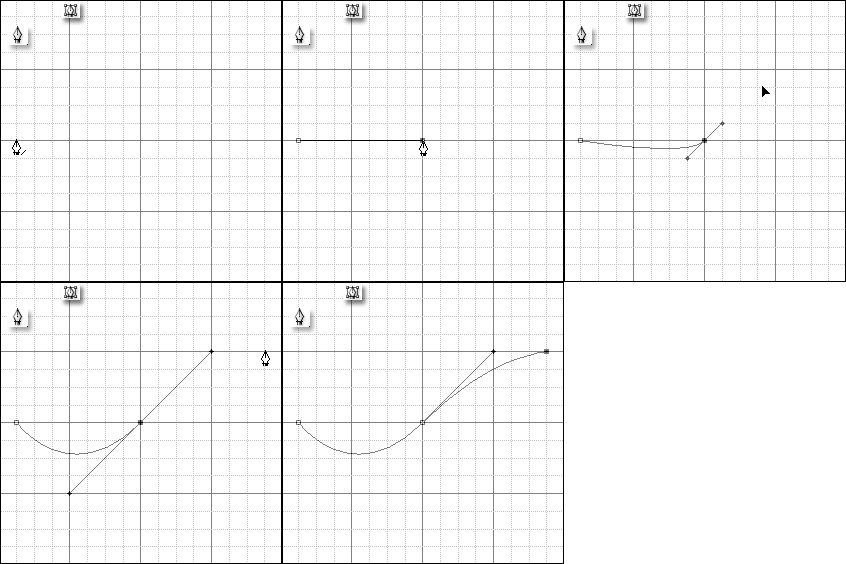
You can also snap to grid on a angle as the below demonstrates.
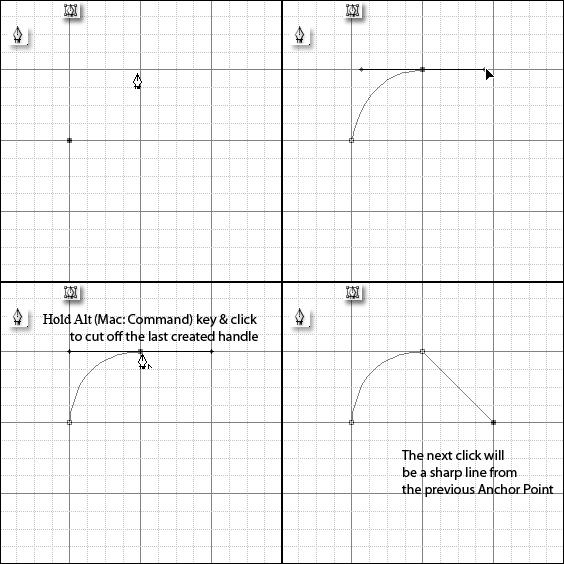
For further control over the angle and position of your Anchor points, the below demonstration shows you how to cut off a smooth handle to allow for sharp angles. (Otherwise known as Convert Anchor Point – the equivalent tool under the Pen Tool fly out menu)
These are just a few demonstrations to help ease the learning curve of Photoshop Path Tool.
By enabling the grid and snap to/grid feature you can make precision paths in no time and can eventually get you to the point where you will no longer need to rely on them.
Tip: Toggle the Ctrl+’ (Mac: Command+’) keys to enable/disable the grid.
Ctrl+Shift+H to toggle the Paths visibility.
