Here is a few simple steps to create nice Bump Map Textures utilizing Blending Modes.
First create a Custom Preset document of your choice. I used 400×400.
Then, create a new Fill Layer by selecting it’s icon on the bottom of Layers Palette ![]() , and from the context menu list, choose ‘Solid Color’. At the prompt of the ‘Color Picker’, choose any color you please. I went for an earthen tone. (#F99C38)
, and from the context menu list, choose ‘Solid Color’. At the prompt of the ‘Color Picker’, choose any color you please. I went for an earthen tone. (#F99C38)
This will create a ‘Color Fill’ layer with a linked ‘Layer Mask’, like I have captured below.
Then select the Color Fill Layer in the Layers Palette, then choose ‘Filter/Render/Clouds’. This will add the render to the Layer Mask thats attached to the Color Fill Layer as I have captured below.
Right + click (Mac: Control + click) on the Color Fill 1 Layer and choose ‘Blending Options’. Then apply the below layer style effects.
Inner Shadow Blend Mode Color: Black #000000, Contour Map: Cone
Note: Use various colors or contour maps for alternating effects.
Bevel and Emboss
Note: Emboss and Pillow Emboss style work well with this also.
Contour: Cove – Deep. This is the style that gives the bump map height. Try various Range integers for variations.
Note: Other Contour maps work well with this also.
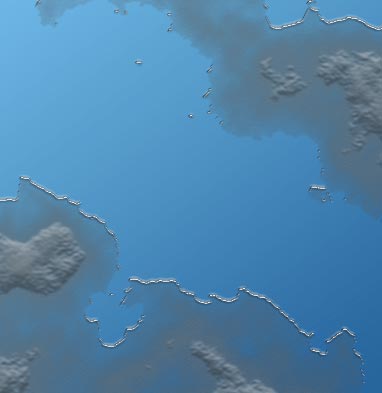
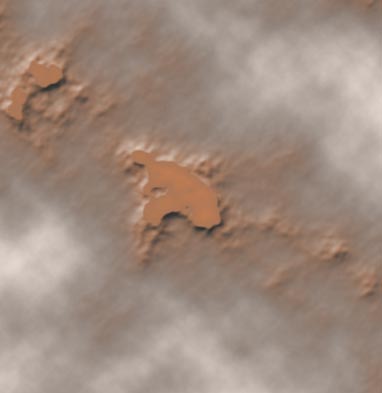
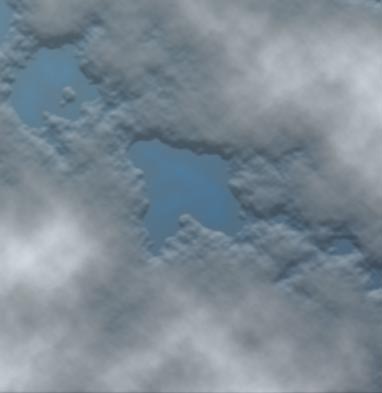
Click ok when you are satisfied with the final view. With the above settings, I produced the below image.
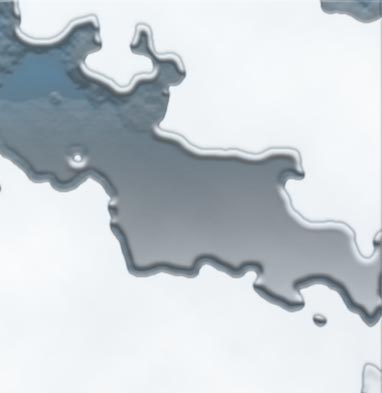
This one employs an additional Gradient Overlay and with the Bevel and Emboss style set to Emboss.
Also for variations apply different Filters directly onto the Layer Mask, but be sure to go to ‘Edit/Fade ‘ and lower the opacity of the last applied filter for seamless transitions or subtle blendings.
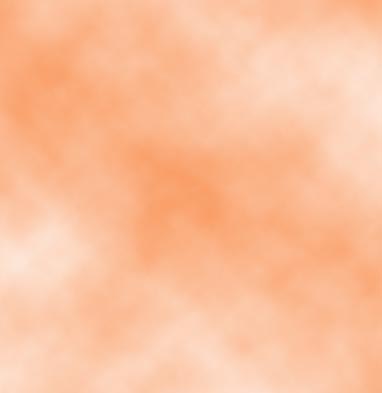
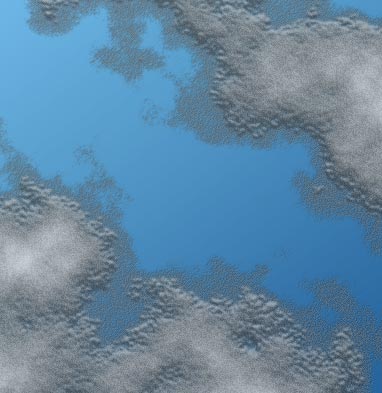
Example, I followed the above tutorial steps and then applied ‘Filter/Artistic/Film Grain’, then went to ‘Edit/Fade Film Grain’ and bumped down the ‘Opacity’ to 40% and switched ‘Blending Mode’ to ‘Color Dodge’ to get the following result.
And another variation