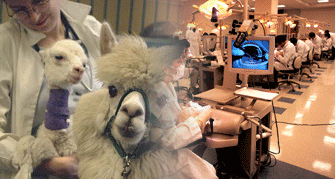
These are the two images I will use.
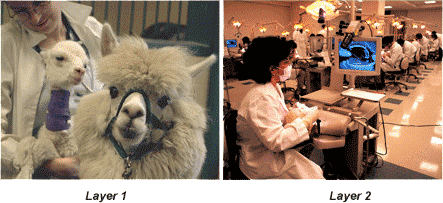
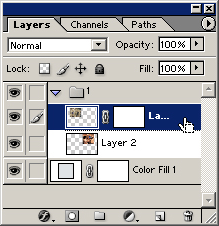
I’ve got them organized and labeled in the ‘layers Palette’.
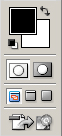
2. Press the ‘D’ key on your keyboard to set the Foreground/ Background colors to Black/White.
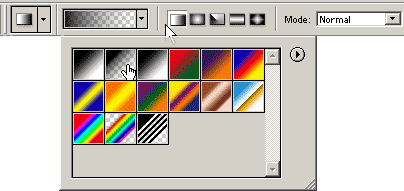
2. With Layer 1 still selected, activate the ‘Gradient Tool (G)‘ Tool on the toolbar.
From the default selection, choose the second one ‘Foreground to Transparent’.(Where you see my Hand Cursor!)
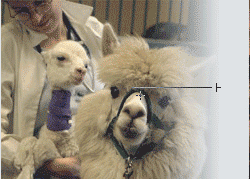
4. We need to blend the right side of ‘Layer 1’ into the left side of ‘Layer 2’.
Click and drag (Hold the Shift Key to constrain to a straight line) from right to left to begin the process of the gradient. (As you can see in my picture)
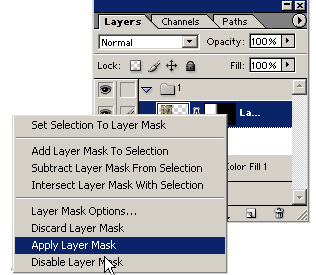
Once I’m happy with the Transparent Gradient, I usually ‘Apply’ the ‘Layer Mask’.
6. Now, we’ll do the same process for ‘Layer 2’ Except this time from left to right.
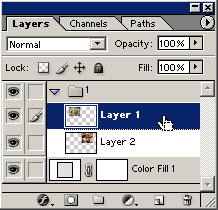
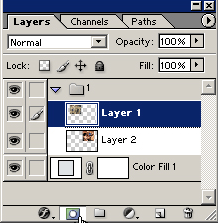
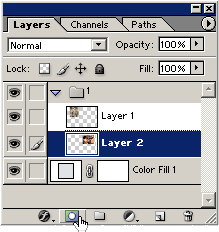
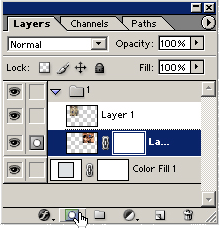
Select ‘Layer 2’ in the ‘Layers Palette’ (left) and then click on ‘Add Layer Mask’ button. The new Layer Mask thumbnail will be added to that Layer (right).
Here’s the final result of the two applied ‘Gradients/Layer Mask’.
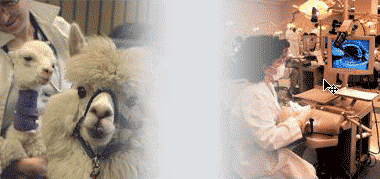
7. Now drag each Layer closer together until the smooth blending is evident.