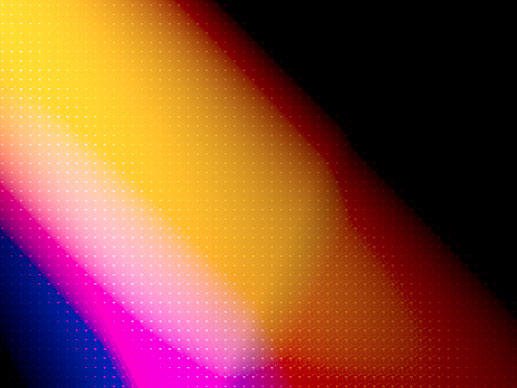
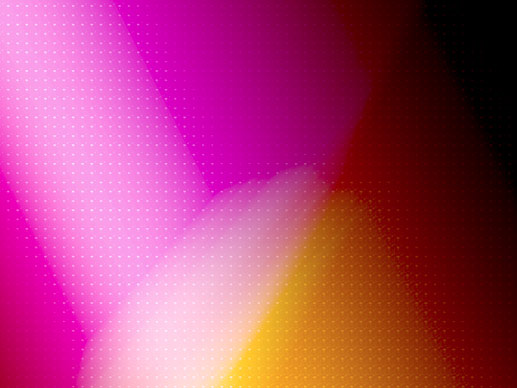
Here is a simply and effective trendy background combination process you can use for banners or as an addition to your graphics.
-
I started with a document preset of 640×480, with the background color set to a dark blue #122f61

- I then added a white to black Gradient Fill as captured below.
A. Select the Gradient Fill Adjustment Layer
B. Set it’s parameters as desired.
C. Is now the uppermost layer in the stack order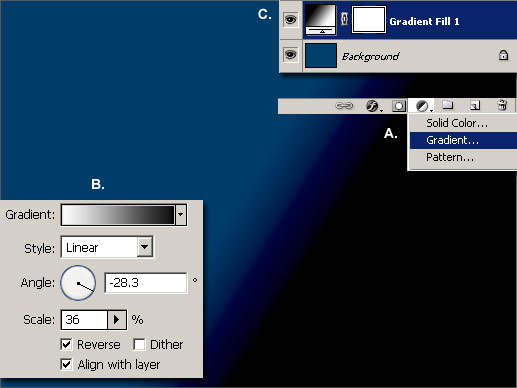
- Right + Click on that new Gradient Fill Layer and choose ‘Blending Options’ as captured below.

- Set the Gradient Overlay style as captured below.
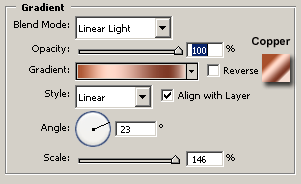
- Also set the Pattern Overlay style as captured below.
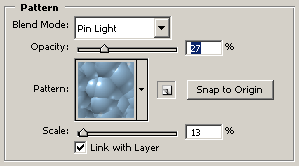
- Click OK to commit Blending Styles for this Layer, change its Blending Mode to ‘Linear Burn’ and you should have a background similar to the below.
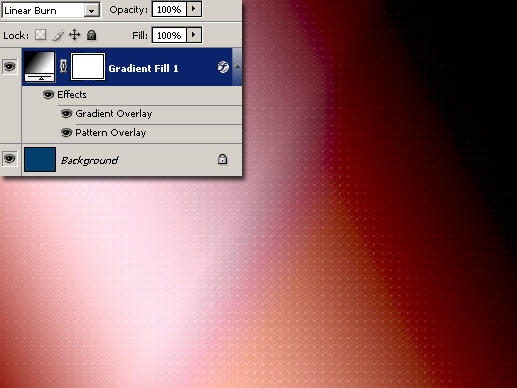
- Finally…
A. Select the Gradient Fill Adjustment Layer
B. Set it’s parameters as desired – foreground color of #122f61 to Transparent.
C. Change its Blending Mode to Color Burn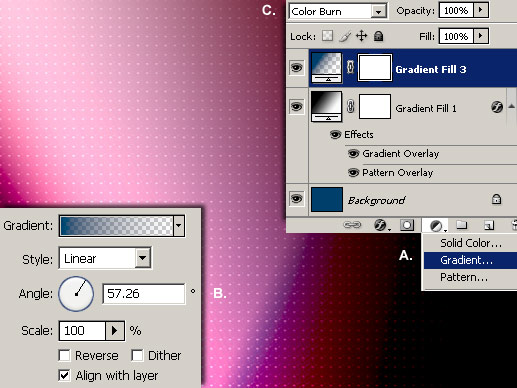
- Final Background Effect
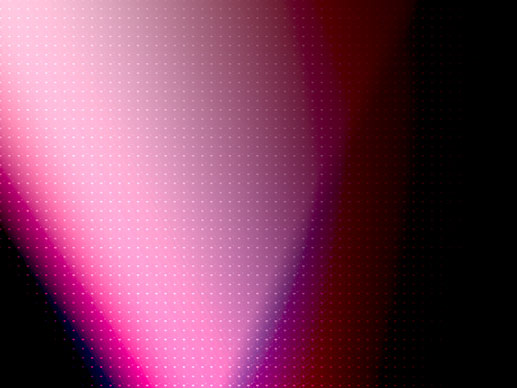
- For other Color Effects, double click the Gradient Fill 3 Layer icon to select from the other Gradient presets.
