Here are two great streamline methods for photo retouching or for those who simply work on large scanned images.
Navigator
Open your large resolution image, then make sure the ‘Window/Navigator’ Palette is open, as I have captured below.
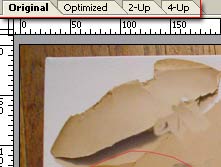
As you can tell from the Navigator screen shot, my actual image view is only at 25%. Working with the original can often require multiple zoom in/out just to see how your work flow affects the overall image.

This is a simple work around.
1. Resize the Navigator Palette large enough so that the changes made are visible. (Click and drag from the lower right palette handler, as I have highlighted in red)
2. Adjust the ‘Zoom Slider’ as I have highlighted directly within the Navigator Palette. This affects the document view and not the Navigator preview. However, the Navigator view does show a yellow view finder border indicating what area of your original you are seeing.
3. Then apply your edit to the original, example, use the clone tool in this case. The Navigator Palette will stay to the foreground no matter it’s location on screen for easy viewing of you overall composition.

Multiple Views Of The Same Image
The other option is located under the ‘Window/Arrange’ command as I have captured below.
Select this option will create a duplicate view of the original.
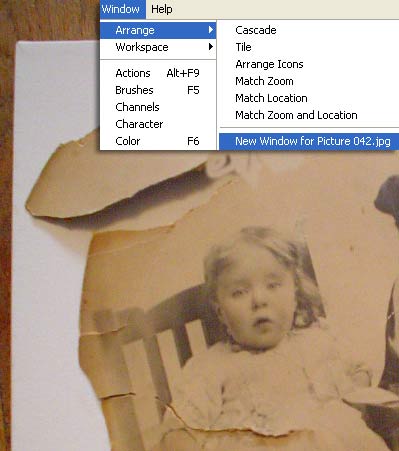
Any edits made to either one is reflected in the other view.
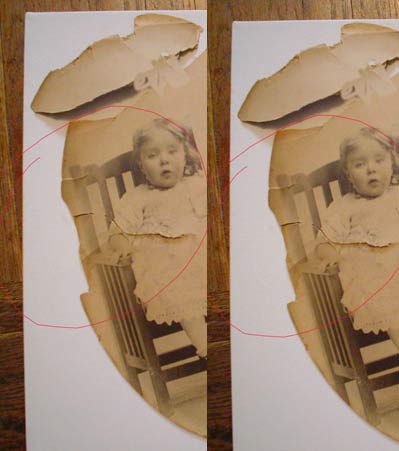
Ultimately, this feature is handy for when hiding all other palettes and have the multiple view tucked to the far right of your screen while you work on a zoomed portion of the original.
Unlike the above Navigator method multi-views will have to be tiled side by side for carefree viewing.
ImageReady also has the above multi view feature (but no Navigator Palette), with the exception of an additional method.
Drag any of the Document Tabs as I have encase below out onto the application background to create a new view.