Start a new document. Your preset choice.
Select either the Custom Shape Tool ![]() from the Toolbar.
from the Toolbar.
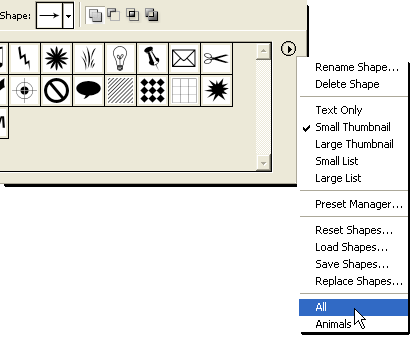
Then go to the Options Bar and select the ‘All’ Palette Option from the Shape Preset Picker Manager, as I have captured below.

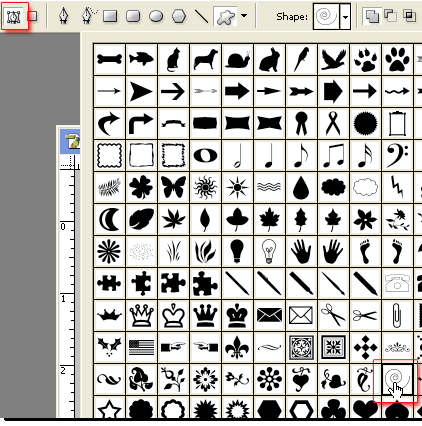
Provided you still have just the default shapes intact as I do, the Spiral Shape should be located midway down lower right as I have captured below.
Double click it, to select it.
Then ensure ‘Paths’ Options bar feature is enabled. (Encased in red upper left of below screen shot)

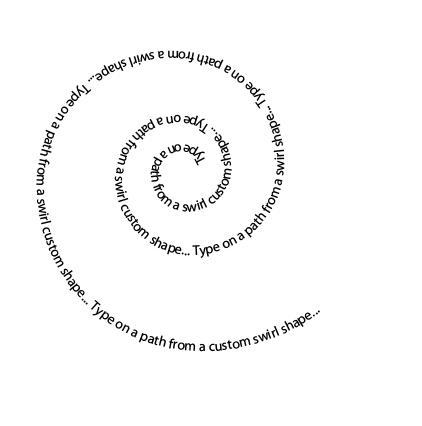
With the Custom Shape Tool (U) still active, click and drag (Hold Shift key to constrain proportion) to create the path as I have captured below.

As in the previous Type on a Path introduction, select the Type Tool (T), position your insertion point and type, as in the below example.
Tip: Ctrl+H (Mac: Command+H) to Hide the spiral path from view.

Pre CS user will find these alternative fake text on a path methods helpful.
Circular Text: Using Vector Mask
Circular (Edit able) Text: Simplified
