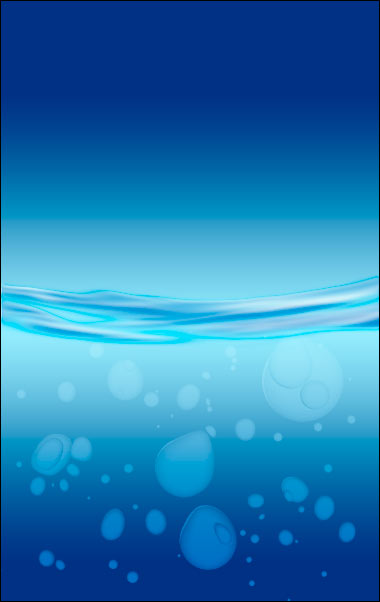
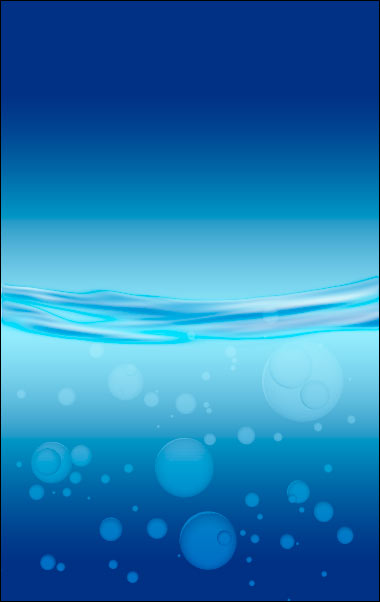
Using the ‘Creating Surface Water‘ tutorial image, I’ll show you how to add bubbles effect, as captured below.
Download the zipped .psd file here.
- Create a Gradient
A. Select the New Adjustment/Fill icon and choose ‘Gradient Fill’.
B. Set the Gradient Fill options as I have captured..
C. Click the Gradient Editor Map to open the Gradient Editor and use #294e8e | Transparent for the end stops.
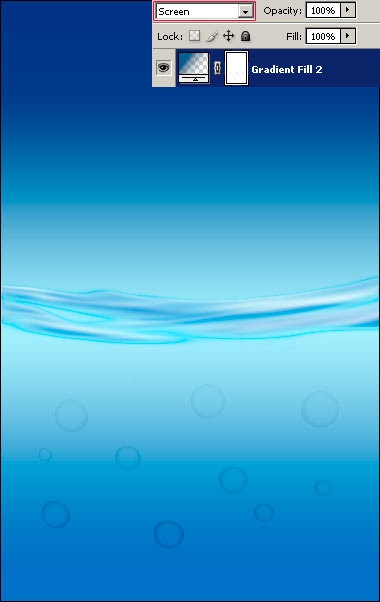
D. The new Gradient Layer is created as well as in the document view.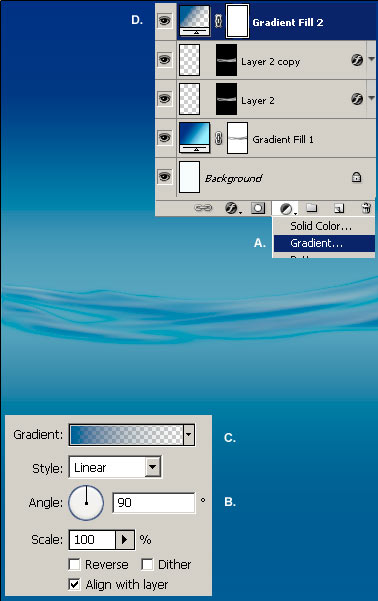
- Next: Add Bubbles to Gradient Mask
Select the ‘Gradient Fill 2’ Mask Thumbnail, encased in red below.
Then go ‘Filter/Render/3D Transform’.
Click the ‘Options’ command button (in red), then deselect ‘Display Background’. (in Green)
Then select the Sphere Tool (N) (encased in red) and click and drag to draw multiple/random spheres below the half way point.
Then select the Track ball Tool (R) (encased in red) and click and drag onto the view from (your) left to right for a complete rotation of the spheres.

Click OK to commit the 3D Transform changes, and change the Gradient Fill 2 Blending Mode to ‘Screen’ (encased in red) and your bubbles should resemble the below.
- Next: Repeat above 3D Transform process to create more bubbles to the existing mask
A. Keep the ‘Gradient Fill’ Layer Mask thumbnail active, go ‘Filter/Render/3D Transform’ again.
B. Click the Options command button.
C. This time, Select the ‘Display Background’ option, then OK.
D. Select the Sphere Tool (encased in red) again and draw multiple/random spheres.
E. Select the Track Tool (encased in green) and click/drag from (your) left to right to rotate the previously drawn spheres. Use the Pan Tool (encased in blue) to move into position if needs be.
F. Click OK to commit 3D Transform options.
- Your effect should be similar to the below image.
Note: Repeat the above 3D Transform process for as many bubbles as you desire. However, if you untick the ‘Display Background’ you will loose your previously created bubbles on the mask.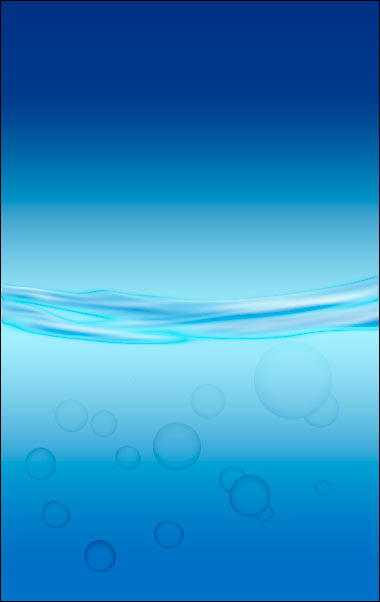
- I applied the above step three more times to get the following.
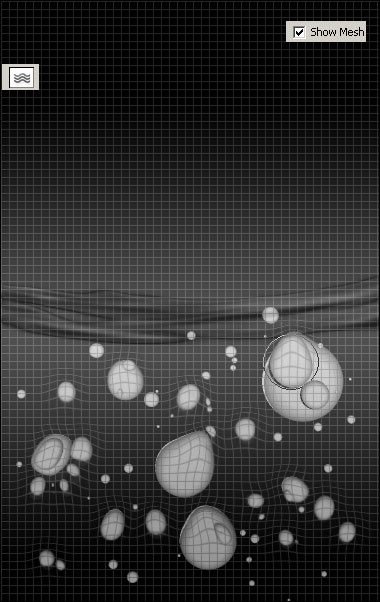
- Finally, warp the bubbles with the Liquify Filter
Still on the Gradient Fill 2 Layer.
Go Filter/Liquify and with the Turbulence Tool create some irregularity to the bubbles as I have captured below.
With the ‘Show Mesh’ active you can see the ‘push’ directions I used on some of the bubbles.
Click OK to commit Liquify changes when content.