Here’s simple ‘Adjustment Layer’ technique on how to alter a particular color within a photo.
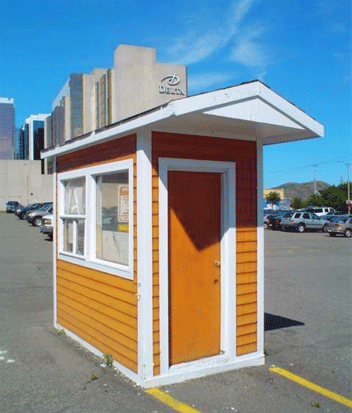
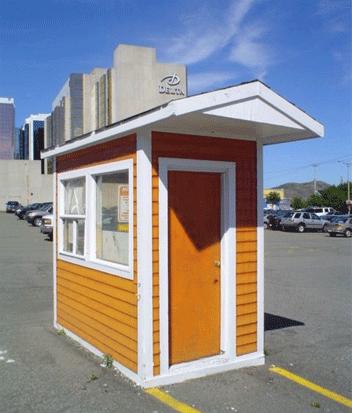
Below is the original photo I took of a car lot ticket booth. In this lesson I will use the adjustment layer ‘Selective Color’ to do this. So please follow along.
- So start off by placing the original photo in a new document.
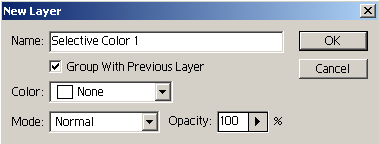
- Next, go to ‘Layer > New Adjustment Layer > Selective Color…’ menu command.
- Because this is a ‘New’ adjustment layer, the next screen prompts you with a few more options. The only one to be concerned with here, is to make sure to check the option ‘Group with Previous Layer’.TIP: The benefit of using adjustments layers is that it provides unique adjustments to your composition without destroying the original pixels. Unlike the same ‘Adjustments’ from the ‘Image’ menu option, any affects done through those options is applied directly to your photo.
So ultimately, flexibility and non-destructive habits are well worth learning.
- Next at the’Selective Color Options’ dialog tick the ‘Preview’ option on the lower right to see in real time the changes you need to make.
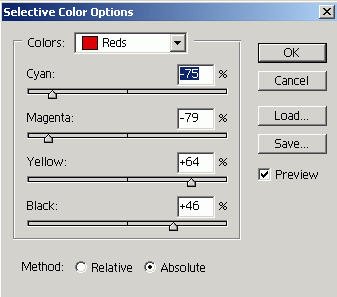
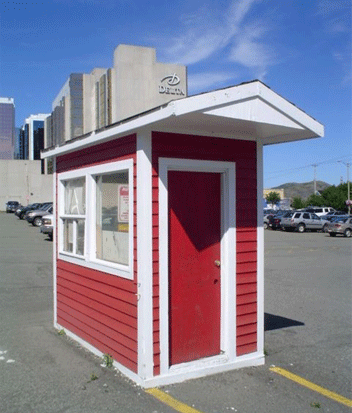
Here’s the affected changes. Since only the ‘Red’ was selected from the list, the ‘CMYK’ values of that color in the composition are affected.
The great thing about using this adjustment, is the flexibility in the amount of colors that you can alter. May it be color correction or a face lift, the options are endless.
Here, unlike the other adjustment layers, ‘Selective Color’ allows for correction or changes to ‘Whites/Neutrals/Blacks’.

- Next, I’ll toy with the ‘Yellow’ settings to enhance the color on the yellow guidelines on the pavement.
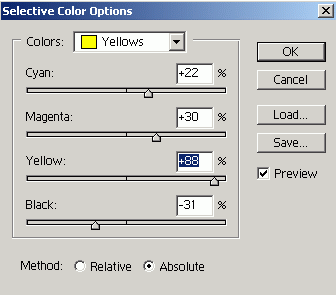
Here’s what the affected changes look like now.
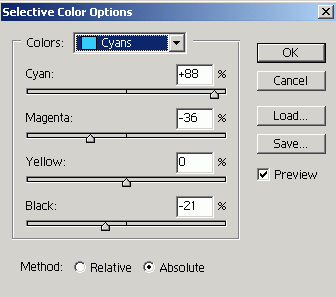
- Next I modified the ‘Cyan’s & Blues’.
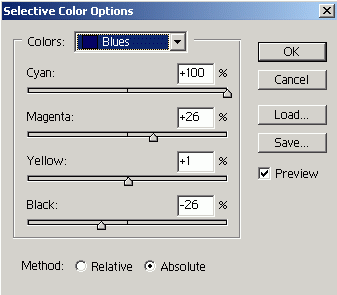
Here’s the final result.
As you can see just another way to totally alter a color in your composition or for simple color correction. Ultimately, depending on your needs, you control how far you want to take it.
