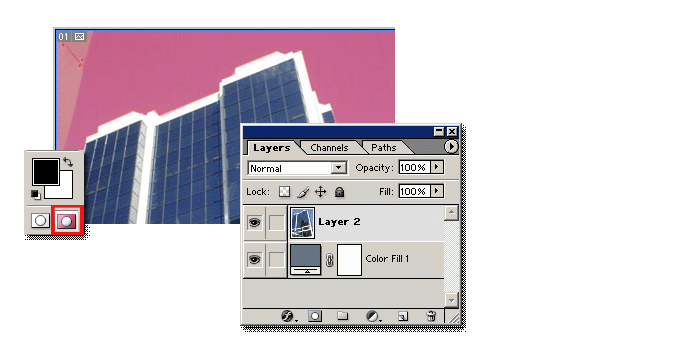
Another powerful selection tool is the Quick Mask. It’s on the main ‘Toolbar’ as I have captured below. Set the ‘Foreground/Background’ color to ‘Black/White’ (D key) and then hit the ‘Quick Mask’ button to enable it.
Also note the color of the active layer when in ‘Quick Mask’ mode. (A light grey)
Then carefully paint your mask area with the ‘Brush/Pencil Tool’. (May require you to zoom in) The mask color should appear red as I have captured below.

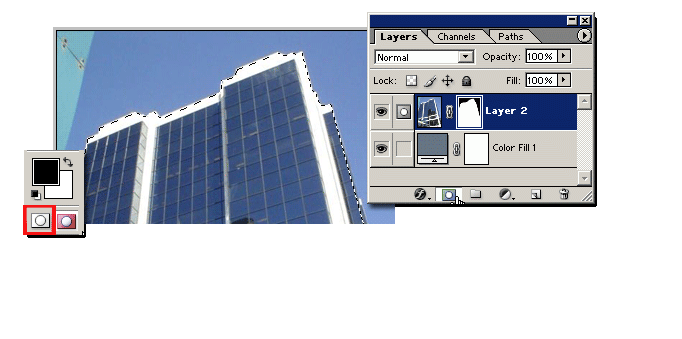
Then switch back to ‘Standard Mode (Q)’ as I have captured and you should see your selection.
If your selection is not perfect, turn the ‘Quick Mask Mode’ button back on, then switch the ‘Foreground’ color to ‘White’ and paint to eliminate unwanted ares in your mask.
Now that your selection is made, ‘Add Layer Mask’ by selecting the icon in the ‘Layers Palette’ as I have captured below.

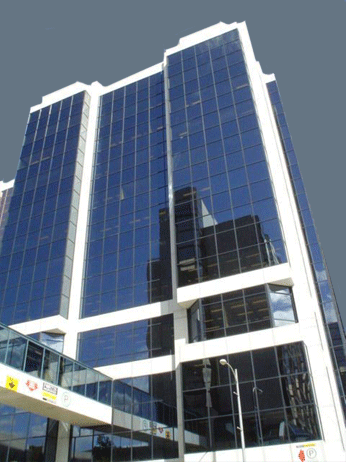
This is what your image should look like.

Note:
- The selection is saved as a new channel in the ‘Channels Tab’ of the Palette. of the palette.
- Imperfections become much more visible in the channel mask to allow for further cleanup.
