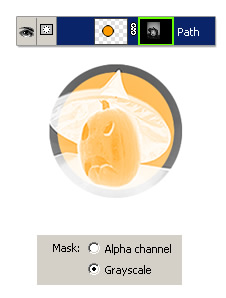
A quick and dirty way to cut an object and paste it as a mask onto another selected object.
As captured below, two objects exist in this document – a Vector Path and an Bitmap Image.
The objective is to mask the Bitmap layer to the shape of the Vector Path.
To do that:
- Activate the Pointer Tool (V) on the Toolbar and select the vector Path object on the canvas (or in the Layer Panel).
- Position it above the image Bitmap layer, as captured below, and nnsure the Path layer is the active object.

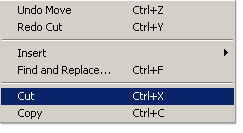
- Then go Edit > Cut (or Command/Ctrl + X) to cut it from the document.
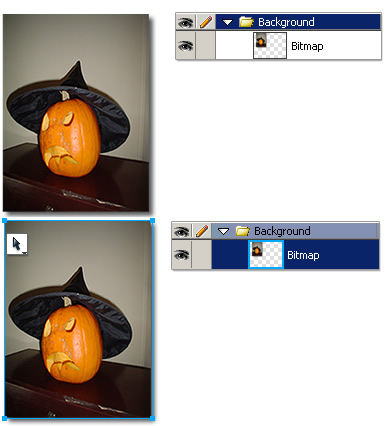
- You should then be just left with the remaining image Bitmap layer, as captured below (top).
- Next, select the Pointer Tool (V) again (if it isn’t already still active) and select the Bitmap layer to activate it, dictated by the bounding blue outline (bottom).
- Then go Edit > Paste As Mask (or Command/Ctrl +Option/Alt + V) to paste it back into the document.
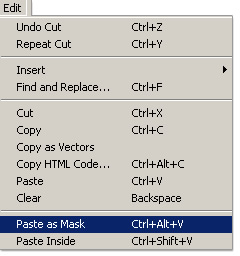
Note: If your Paste as Mask menu command is grayed out, it’s because you have nothing selected in your document.
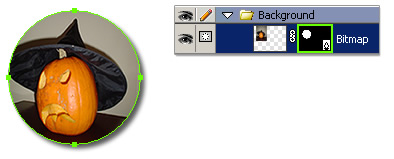
Instead of a normal paste operation, Fireworks creates/combines the vector Path as a mask (Vector Mask) to the underlying image Bitmap. Notice the linked/appended Mask thumbnail, with a Pen Tool icon, to the image Bitmap layer in the Layers Panel. This indicates that a Vector Mask.
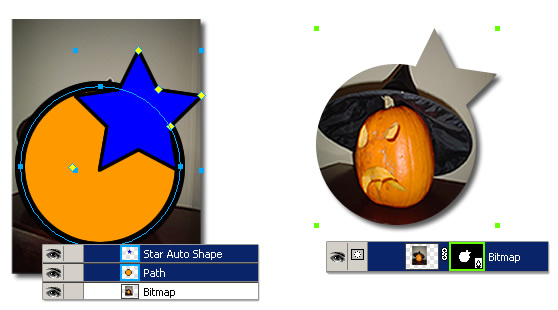
Additionally, you can apply the same Select, Cut, Select and Paste As Mask of multiple objects as captured below to create interesting masks from existing shapes.
Finally, you are not restricted to creating Vector Masks using this routine.
If you select the image Bitmap layer, Cut it, Select the vector Path and then utilize the Edit > Paste as Mask command, it creates a Bitmap Mask instead, but with fewer Mask options as outlined in the Properties Inspector Panel below.
