A simple ‘tracking’ adjustment on type letters combined with Layer Blending Styles can produce a nice overflow style effect.
Create a new document preset (File/New) of your choice. Just ensure it’s large enough to contain a larger than normal type face Layer as detailed below.
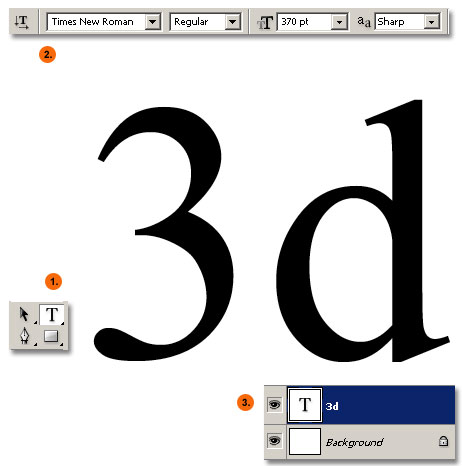
- Activate the Type Tool (T).
- Set Options Bar Type Tool parameters.
- Click once on your document and type any two characters. I used the characters ‘3d’.
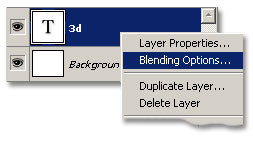
Next, Right Click (Mac:Ctrl + Click) on the new ‘3d’ Type Layer in the Layers Palette and choose Blending Options from the context list, as captured below.
Next:
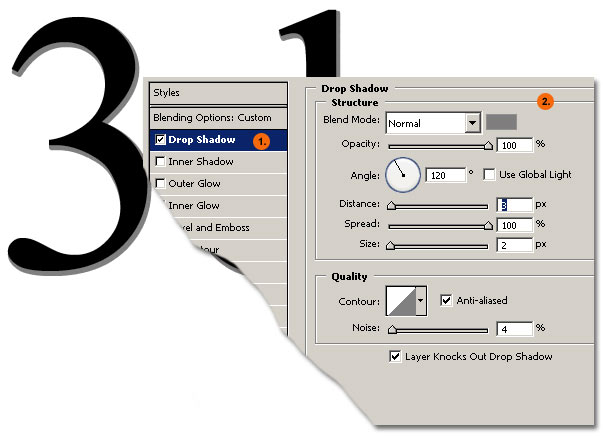
- Tick the Drop Shadow Blending Style.
- Set Drop Shadow Structure options as captured below. I used a neutral grey for the color: #747373
Next:
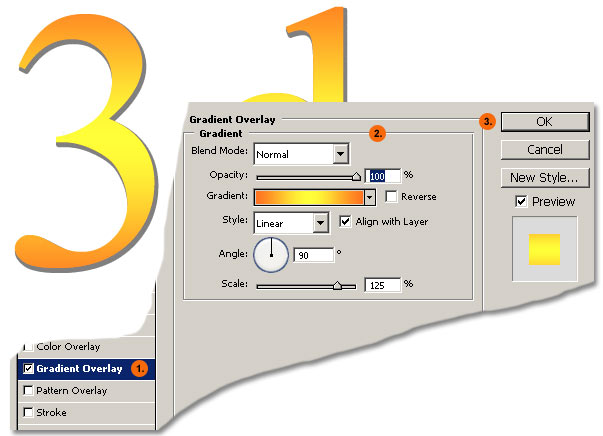
- Tick the Gradient Overlay Style option.
- Set the options as captured below. I used ‘Orange, Yellow, Orange’ gradient preset.
- Click OK to commit Blending Styles.
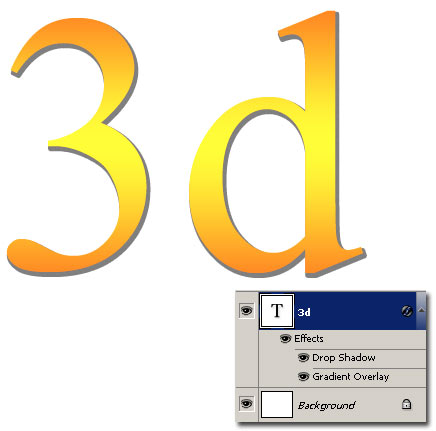
Here is the document and Layers Palette preview thus far. Ultimately, the two blending styles in and of themselves are not crucial but are used to show the overflow effect in the next step.
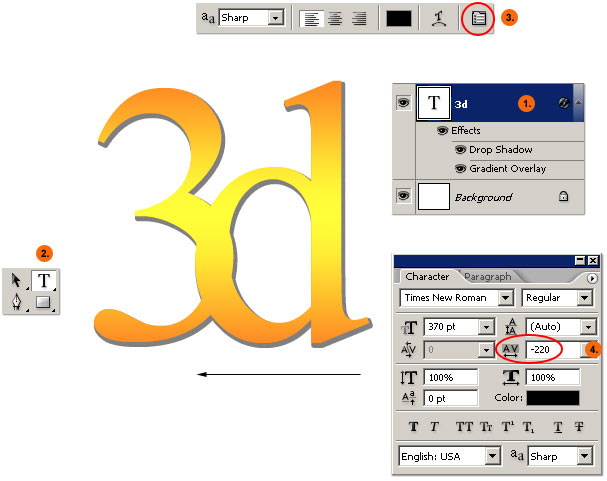
Next:
- Make sure the 3d Type Layer is the Active Layer.
- Activate the Type Tool (T) from the Toolbar, if it already isn’t so.
- Toggle the Character/Paragraph Palette to the foreground.
- Alter the Tracking Individual Characters to a negative value until the letter d will push inwards, as captured in the direction of my arrow.
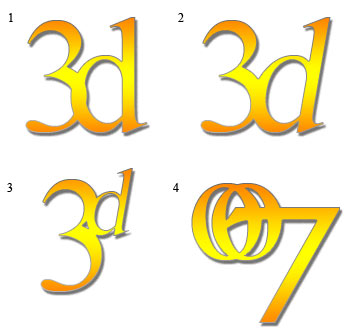
It’s a simple effect and can prove useful for logo experiments, either with letters, full words, Open Type ligatures or ding bats.
- With additional Stroke Blending Style applied.
- With Italic applied to just a single letter.
- Superscript applied to a single letter.
- Character Kerning applied to two characters.