A molecular texture theme made easy with just a prefab texture combined with a New Adjustment Gradient Layers.
- New Document
Run Photoshop, then from the New > File menu commands create a document preset of 500×500 as I have captured below.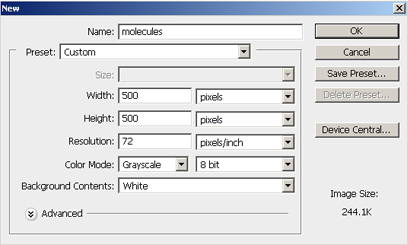
- Apply Solid Color Adjustment Fill Layer
From the bottom of the Layers Palette, select the New Adjustment Layer icon (encircled in red), and from the list choose Solid Color, as I have captured below.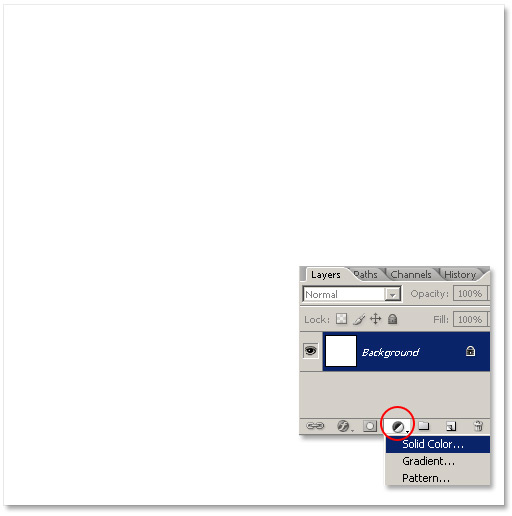
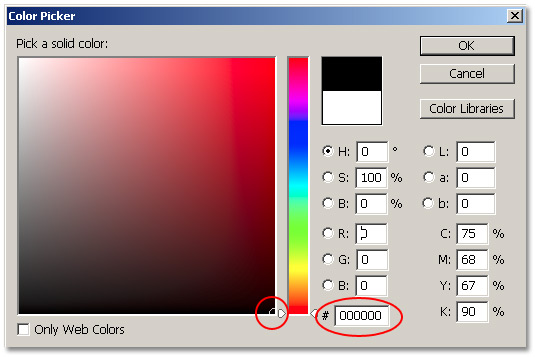
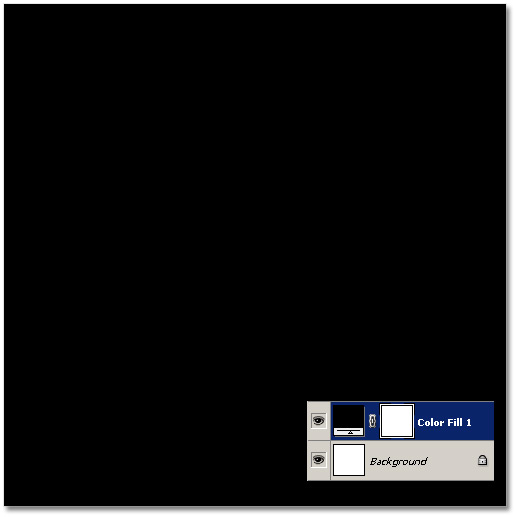
At the Solid Color Picker prompt, click and drag to the lower right (in the color window pane) or type 000000 in the hexadecimal input box field. Then click OK to commit changes.
Below is the full preview view and the Layers Palette preview.
- Apply Pattern Adjustment Fill Layer
Again, from the bottom of the Layers Palette, select the New Adjustment Fill Layer icon (encircled in red), and from the list choose Pattern, as I have captured below.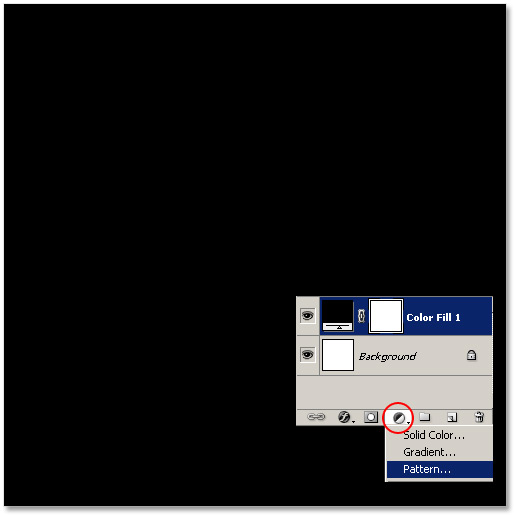
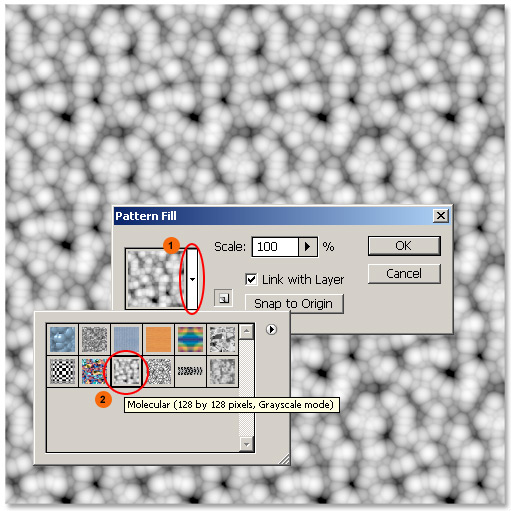
At the Pattern Fill dialog prompt:
- Tick the Pattern Preset Picker.
- Choose the Molecular Pattern from the default set. (You should also see the Pattern appear in the document preview)
Keep the default Scale of 100%, and then click OK to commit changes.
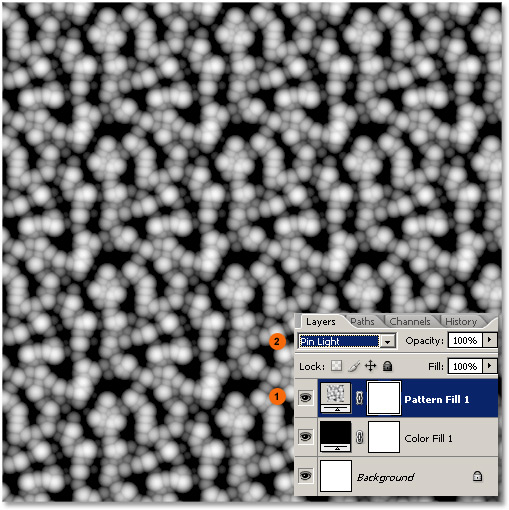
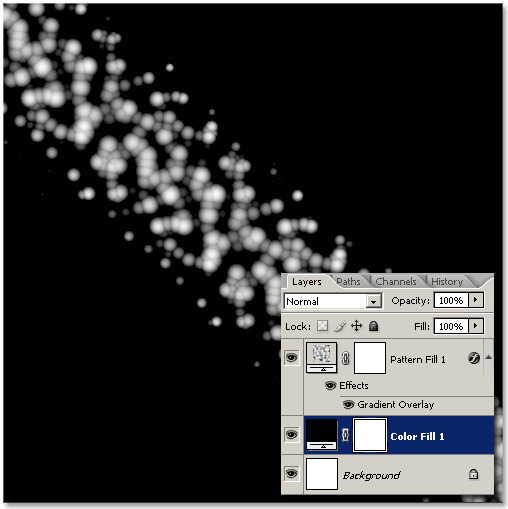
The above Pattern Fill process has added a new Pattern Fill 1 Layer to the Layers Palette, as captured below.
Next:
- Select/Activate that Pattern Fill 1 Layer
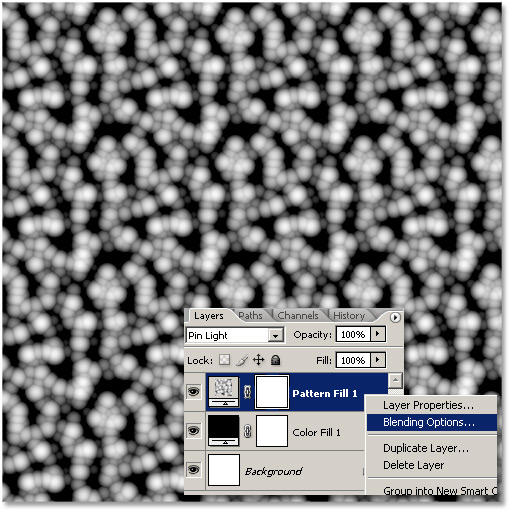
- Then change its blend mode to Pin Light.
Doing so brings more of the underlying Black Color Fill 1 Layer into the Pattern, as in the preview below.
- Apply Gradient Overlay to Pattern Fill 1
Next, Ctrl + Click (PC: Right Click) on the Pattern Fill 1 Layer and from the contextual list choose Blending Options as I have captured below.
Next, at the Layer Style dialog panel:
- Tick the Gradient Overlay option on the left.
- Set Gradient Overlay options.
Blend Mode of Color Burn, Opacity of 100%, Gradient Preset White to Black (Reversed), Reflected Gradient Style at 50 degrees and a scale of 31 %.
Once applied, click OK to commit the Gradient Overlay.
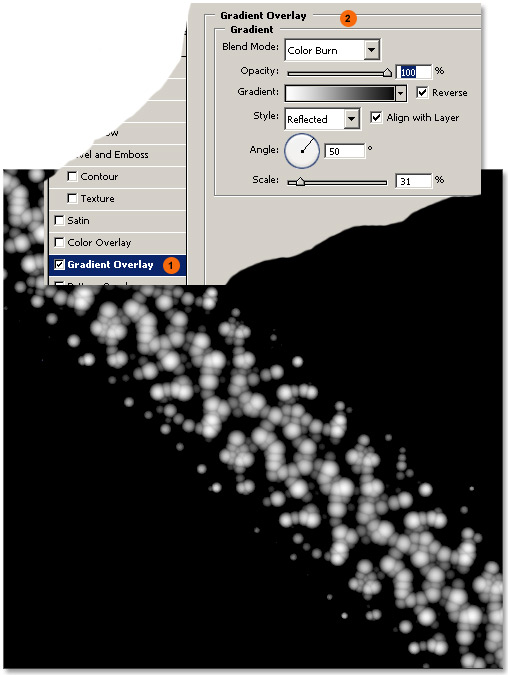
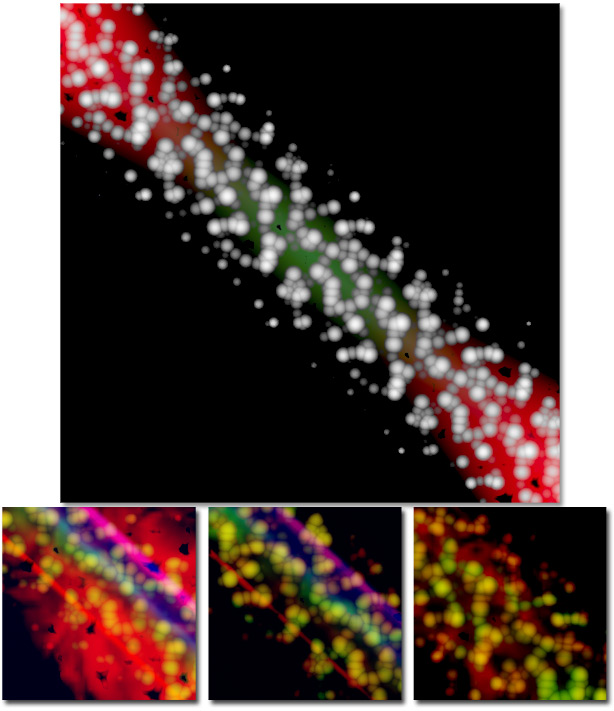
A simple Gradient Overlay onto a Pattern Fill brings to life a meaningless molecular pattern preset.
Now comes the fun part – adding color. And it’s just as easy as the previous steps.
The idea onward is to add Gradient Adjustment Fill Layers BETWEEN Pattern Fill 1 and the Color Fill 1 layers without losing the molecular look and feel. For the sake of brevity I will detail one Gradient Adjustment Fill and capture other results at the footer of this tutorial.
- Add Gradient Adjustment Layer Fill Preset
Activate the Color Fill 1 layer (highlighted in blue) in the Layers Palette.
Then:
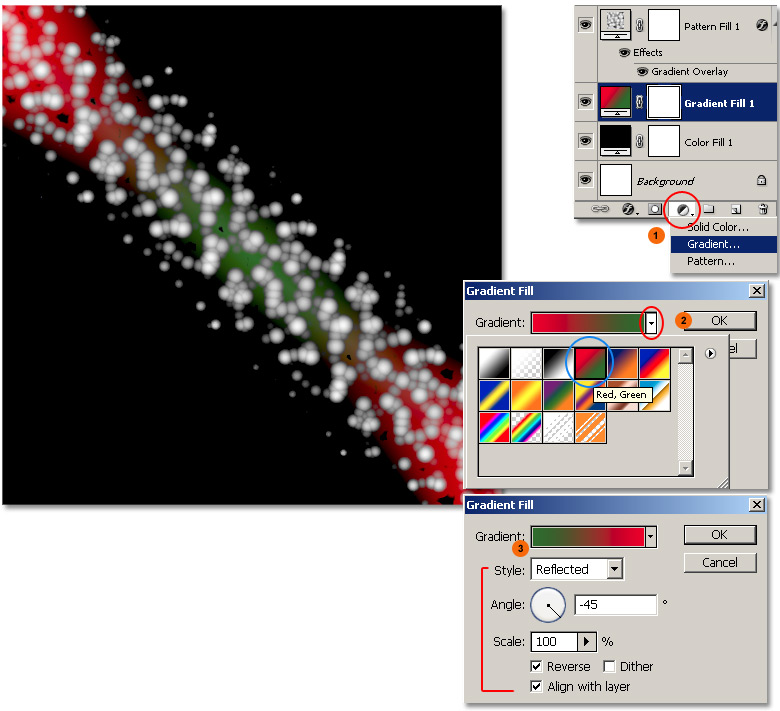
- Select the New Adjustment Fill Layer icon at the bottom of the Layers Palette and from the contextual list choose Gradient.
- At the Gradient Fill dialog, tick the preset picker arrow (encircled in red), and from the sub fly out preset panel select the Red, Green preset. (encircled in blue)
- Set the Red, Green preset Style to Reflected (Reverse) at a -45 degree angle at the default Scale of 100%. Click OK to commit the Gradient Fill options.
Note: If your angle position doesn’t line up with mine, with the Gradient Fill dialog still open, click and drag directly onto the document window to reposition.
Here is the final version: