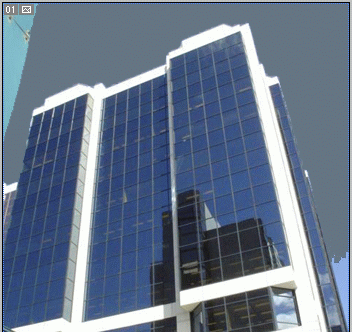
This tool finds pixels of similar value and automatically erases them to transparency on the active layer . This tool also works best when theres a solid color in the background to be removed.

Experimentation with the ‘Tolerance’ level will ensure best results. As with the ‘Background Eraser Tool (E)’, there are further but fewer control options available on the ‘Options Bar’ when this tool is active.
![]()
On my first attempt, I did ok with the knockout using a tolerance of 34, but additional clicks will require a complete cleanup. (A you can see below)

Note:
- Anti-aliased: This keeps a smooth transition between erased and non-erased parts.
- Continuous: Selects pixels contiguous(side by side) to the one you click on. (In this example, clicking on the white area on the skylark bridge will only erase those white areas and the areas continuous/connected to it, excluding the white frame of the building)
- When unticked, the first pixel selected is sampled and every instance of it is erased. (In this example, clicking on the white area on the skylark bridge will erase all white areas continuous or not.)
- Use All Layers: Samples pixels from underlying layers.
- Opacity: The level of transparency control. 100% being total transparency)
