ImageReady, like Photoshop, can also make and utilize channels and are primarily used in the optimization process of outputting files for the web.
Here are the few simple steps needed to create channels within ImageReady.
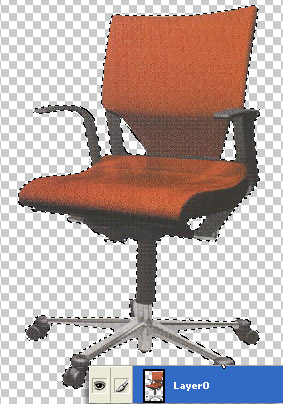
Below is the base image used in this tutorial with the background already stripped from the image.
(See this ‘Blend If’ tutorial for creating quick background knockouts)
To begin open your image in ImageReady, select/activate the layer. (highlighted in blue).

Next, go ‘Select/Load Selection/’ and because the background is transparent, from the list choose ‘(LayerName) Transparency’, as I have captured below.
This will load/activate a selection (indicated by the marquee below) around the object.
With the Selection still active, go back to ‘Select’ menu command and from the list choose ‘Save Selection’ (Select > Save Selection).
You will be prompted with the ‘Save Selection’ dialog with the new channel options as captured below.
Give the new channel a the ‘Name’ as desired, then click OK.
To delete any unwanted channel’s go back to the Select command menu item and the ‘Delete Channel’ is now activated with the channel item in a pop-out list. (Select > Delete Channel > ‘Channel Name’)
Note: If you jumped to ImageReady from Photoshop with already existing channels and alpha channels, they will also appear in the list. As the sample captured list shows)

Now that you know you can create channels in ImageReady, what next?
The answer lies in the ‘Window/Optimize’ palette. As I have captured below and encased in red, the ‘Mask’ button can be used to load a Channel to modify color reduction or quality setting for your final output file.
Selecting the ‘Mask’ icon will prompt you with the following ‘Modify Quality Setting’ dialog. Select from the Channel list the one that was created earlier, as captured below.
Finally, white areas of the masks yield the highest quality & black areas of the masks yield the lowest quality. Adjust the sliders and hit OK.
Since the White areas of the mask contains the pixel information related to the chair object adjust the White Slider for a comfortable comprimise in quality.
Though not as flexible as Photoshop Channels Palette, ImagerReady provides some compensation for creation and interchangeable use of channels. So if channels are created in ImageReady, and you ‘Jump To’ Photoshop, they will still be available in Photoshop and vise a versa.