Here is a simple method to enhance details in an image using the Emboss Filter gallery effect combined with the History Brush Tool.
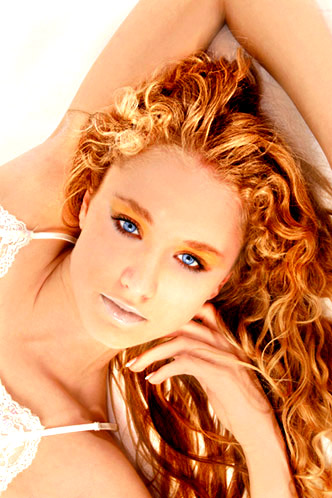
Below is the starter image, courtesy of AbsolutVision Photo Gallery. Copy and paste into Photoshop.
Next:
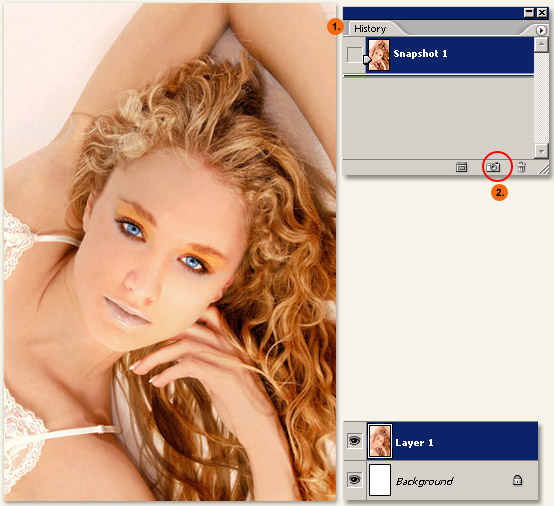
1. Go Window/History to bring the History Palette to the foreground.
2. Then click the New Snapshot icon, to add a Snapshot state of the current Layers Palette.
Then go Filter/Stylize/Emboss and explore the slider parameters as I have captured.
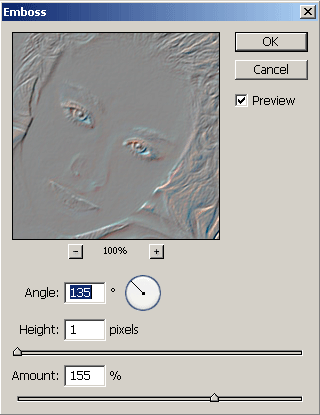
After applying the Emboss filter gallery effect, go back over to the History Palette:
1. Notice the new recorded Emboss history state.
2. Click the New Snapshot icon again.

Still at the History Palette:
1. Reselect Snapshot 1. Notice the Current State Indicator (encircled in red)
2. Set the source for the History Brush Tool by clicking in the source icon placement holder adjacent to the state as encircled in blue.
3. Select the History Brush from the Toolbar.
4. Set History Brush Options Bar Parameters. I used a soft edge brush of 65, Overlay Mode at 100% Opacity.
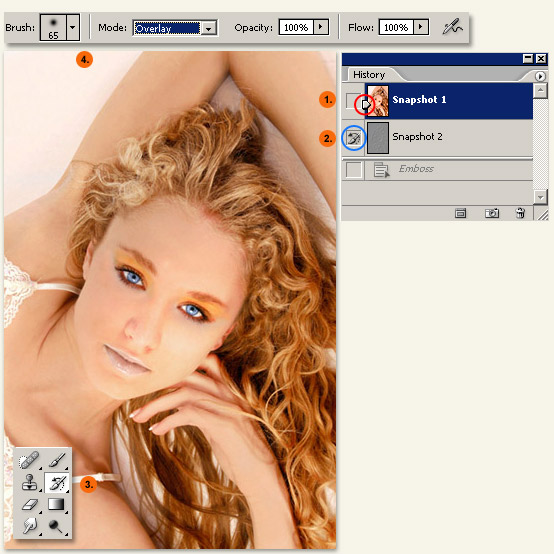
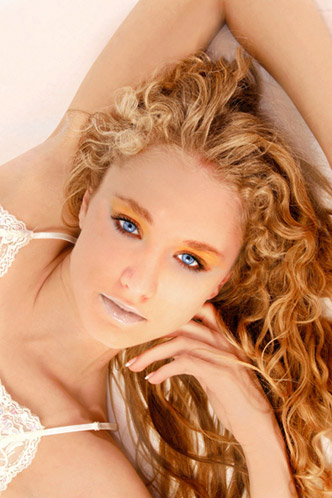
Then brush over the entire image with those settings for the below subtle effect.
Here I used Hard Light Mode at 100% Opacity. (Mouse Over Image to see effect)
Here I used Linear Burn at 21% Opacity%. (Mouse Over Image to see effect)
Here I used Hard Mix at 22% Opacity%. (Mouse Over Image to see effect)