Here’s a few simple steps to alter a photo using the Color Range command combined with varying Fill Layers.
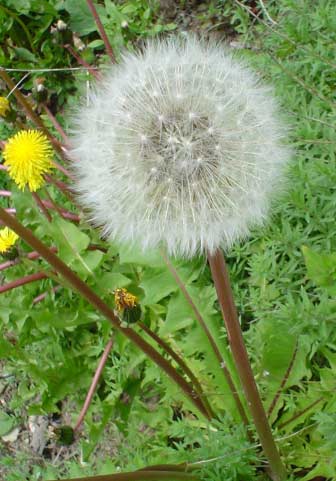
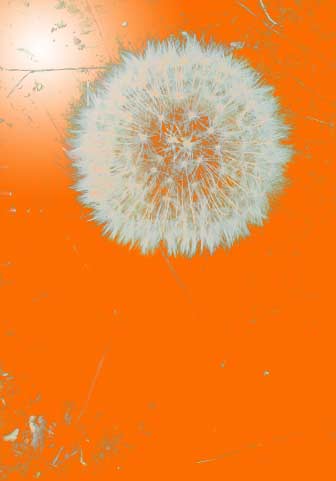
Below is the image I took in my back yard.
The objective is to separate as much as the dandelion as possible to use in a customized image.
First duplicate the original as a backup copy, and toggle visibility to a hidden state.
Next, with the original ‘Dandelion’ layer active,
click the ‘Add New Fill’ icon ![]() on the bottom of the Layers Palette
on the bottom of the Layers Palette
and from the list choose ‘Gradient…’.
Doing so will add the new ‘Gradient Fill’ layer between the two image layers as the below Layers palette view shows.
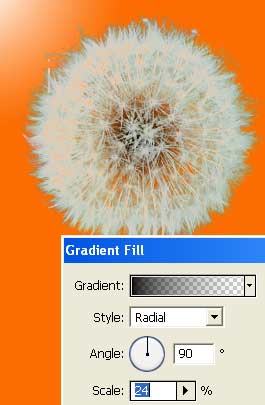
Then you will be prompted with the ‘Gradient Fill’ dialog (second image below) and adjust the settings as I have captured. To create the gradient style I have, click on the ‘Gradient Style Preset Picker’ button and choose any one. Ideally for less work, pick the ‘Black,White’ Preset (first arrow), adjust (click to edit its color) the endpoints (called Color Stops) as I have encircled in red to White,Orange / #ffffff,FC6D02. Then when you ‘Ok’ to the Gradient Editor, the ‘Gradient Fill’ dialog will update with the new style. (as the arrow pointing upward indicates)
Now you should see the gradient visible in the main document window. However lets adjust the focal point of the radial gradient to the upper left instead of center.
With the Gradient Fill dialog window still open, simply:
Click on the gradient
Drag to upper left
Then hit Ok to commit the Gradient Fill changes.
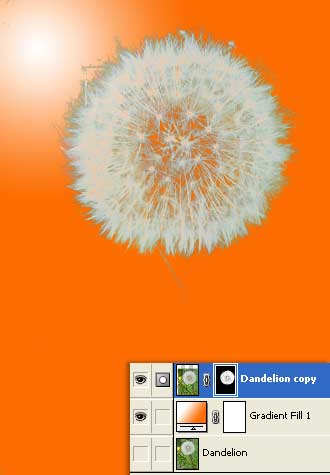
The final backdrop is in place, lets turn on visibility of the ‘Dandelion copy’, leave it active/selected (highlighted in blue) & turn off ‘Dandelion’ as I have captured below, so we can work on some particulars.
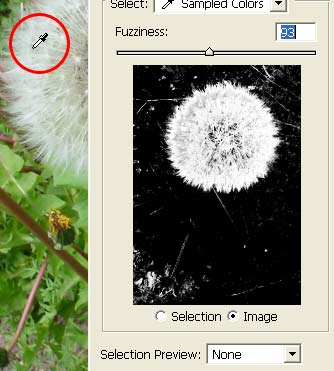
Next go, ‘Select/Color Range’.
You will be prompted with the following screen.
Mouse over an area of the dandelion and your cursor will revert to an Eyedropper, as captured below.
With the Eyedrooper available, mouse click ONCE, then toggle the Ctrl (Mac: Command) key to see a temporary mask version of your choosen color selection.
If your content with the selection you see in the temporary mask view then release the Ctrl key & click OK to commit Color Range selection process.
If you want to broaden the color range selection, toggle the Ctrl key again to review the temp mask and adjust the Fuzziness slider.
As captured below you will see a marquee selection around the areas defined by the Color Range command.
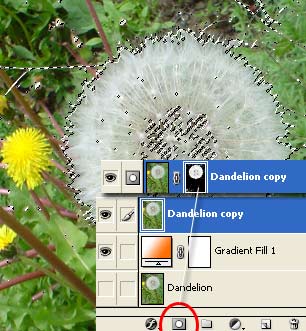
Next, with the selection still active, hit the ‘Add Layer Mask’ icon (as indicated above) & this will protect what the color range defined and hide the remaining background and allow for that Gradient Fill layer created earlier to show through. As captured below.
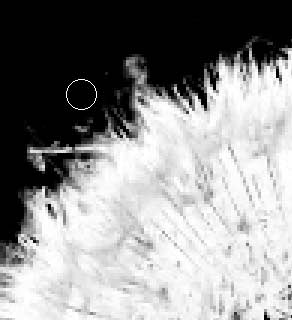
Obviously, in need of some touch up!
Simply, Alt (Mac: Option) + click on the Layer Mask Thumbnail, select a hard edge brush with a foreground color of black and paint over areas outside the dandelion to complete the masking.
Ctrl /(Mac:Command) + Plus Sign (+) to zoom in and get the areas closer to the edge of the dandelion, as I have captured below.
When the clean up is ccomplete, ‘Alt + click’ the Layer Mask again to return to normal view.
Below is the cleanup version, with the Layers Palette preview thus far.
Next, lets add the core center are to the dandelion using a gradient fill layer.
With ‘Dandelion copy’ active (as captured above), hold the ‘Ctrl’ (Mac: Command) key then click the ‘Add New Layer’ ![]() icon to create a new empty floating layer ‘Layer 1’ below it. (Captured below)
icon to create a new empty floating layer ‘Layer 1’ below it. (Captured below)
Then select the ‘Create New Fill’ icon ![]() and from the list choose ‘Gradient…’, as I have captured below.
and from the list choose ‘Gradient…’, as I have captured below.
In the Gradient Fill dialog, choose a gradient style of Foreground to Transparent (Black being the foreground color) and the below captured settings.
Use the same above animated gradient move trick to position this gradient layer iat the center of the dandelion.
Here is the updated Layers Palette preview.
Next, with the Gradient Fill 2 layer active, as captured above, hold the Ctrl key and click the ‘Add New Layer’ icon ![]() to get get a new floating layer as I have captured below.
to get get a new floating layer as I have captured below.
With this new floating layer active ‘Layer 1’, set your Foreground Color to #559509, Select the ‘Pen Tool (P)’, ![]() from the Toolbar, activate ‘Shape Layers’ feature on the Options Bar and draw a generic stem for the dandelion. (As captured in the below demo)
from the Toolbar, activate ‘Shape Layers’ feature on the Options Bar and draw a generic stem for the dandelion. (As captured in the below demo)
Next, right + click (Mac:Control + click) on the Shape 1 layer and choose ‘Blending Options’.
And set the below two style options.
Inner Glow: Color 35FFC57
Gradient Overlay : Gradient Black (#000000) to Transparent.
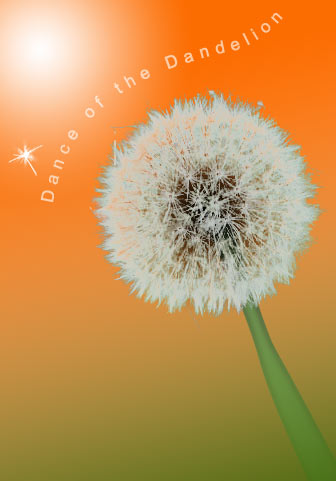
Here is the final stem and Layers Palette preview.
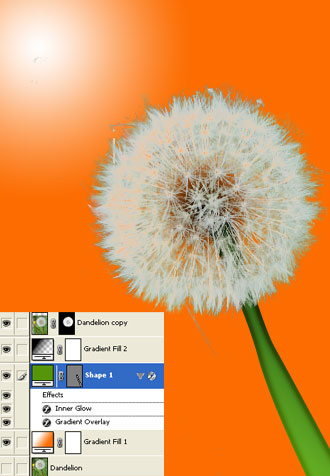
The remaining addon items for the final image below included a text item, a a few strokes of white to simulate a stray dandelion petal and a Green to Transparent gradient fill at the bottom to soften the transition,
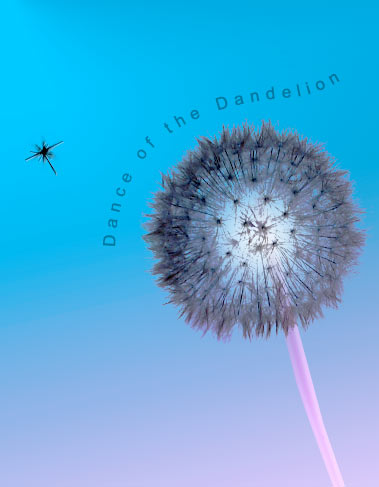
Here is another variation.

Teaser Alternative.
Summary:
1. Add a Gradient Fill Layer as a backdrop
2. Use Color Range to separate the the dandelion from the Photo
3. Clean up artifacts left behind from the Color Range
4. Add a Gradient Fill to compensate for the core of the dandelion
4. Create the stem of the dandelion with Pen/Shape Layers active.
5. Add Layer Styles to the stem layer
6. Add extras