Here’s a few simple steps to generate custom shapes from line artwork.
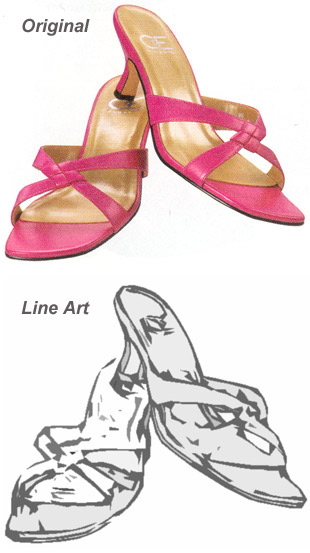
The source image below was used from a flyer advertisement that was recently in my mailbox. The original is shown in the top portion of the below image and the line art was created using this tutorial.
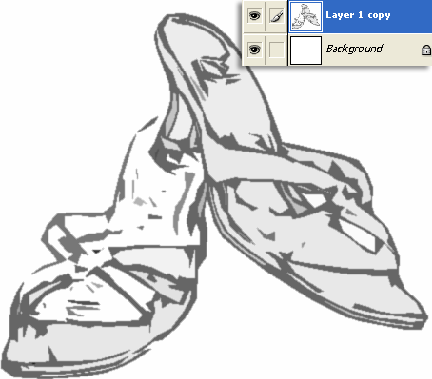
To begin, have the target image layer selected, as I have captured below.
Right click and choose ‘Blending Options’ on the target layer, as I have captured below.

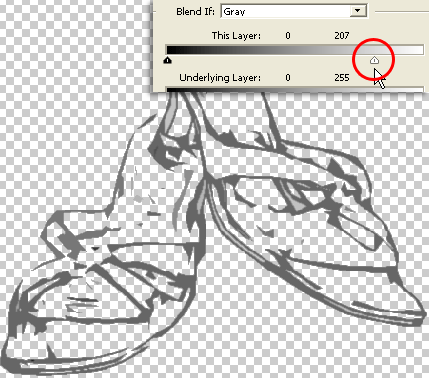
In the main ‘Blending Options’ panel, in the ‘Blend If’ section adjust the white slider as I have captured below until you see the whites in the main document view disappear, then click OK to commit changes.
Next, create a new empty layer above the original image layer as I have captured below.
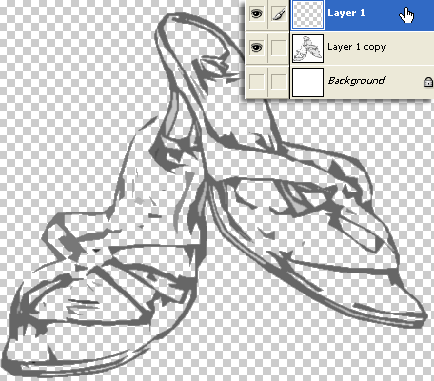
With that new empty layer active, hit the ‘Ctrl + E’ keys (Mac:Command + E) to merge it with the one below it.
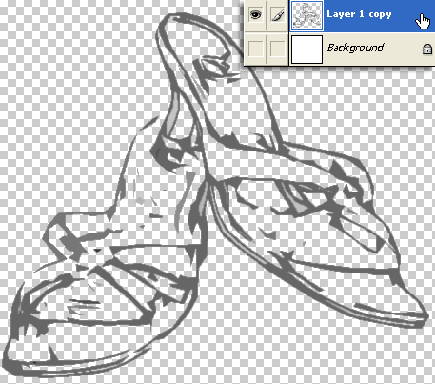
Note: If you look at the above ‘Layer1 copy’ thumbnail you can still see the white background.
This merging process allows the transparent areas to dominate, as you can see below in the same ‘Layer 1 copy’ thumbnail.
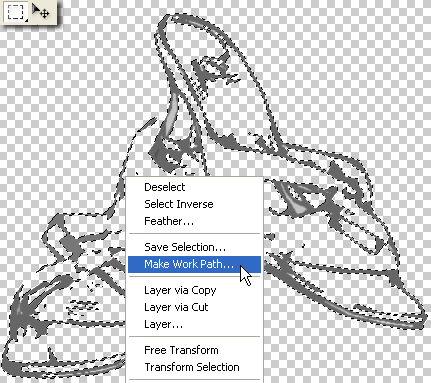
Next, Ctrl + click on the ‘Layer1 copy’ thumbnail (encircled in red) to activate a Selection around its contents.(As indicated by the marquee lines in the document view)

With the Selection still active, select the ‘Marquee Tool (M)’, then right+click on the document view and from the context menu list, choose ‘Make Work Path’ as I have captured below.
Keep the default settings of the new Work Path, as captured below.

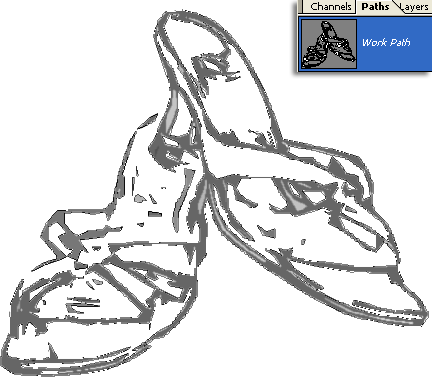
Switch to the ‘Paths’ tab and notice the new Work Path you just created.
Finally, lets save this new custom path as a Custom Shape. With the Path still active, go ‘Edit/Define Custom Shape’.
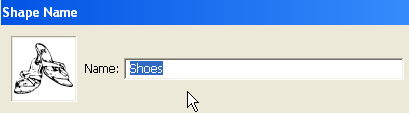
At the next prompt, give the new custom shape a user friendly name.
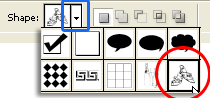
To locate the new custom Shape and ready for use, with the ‘Custom Shape Tool’ active on the toolbar, go to the Options Bar and select the Custom Shape Preset Picker (encased in blue) and the new shape will appear as the last one in the list. (encircled in red)
To use it, create a new layer and hide the originals (or start a new document altogether).
Select the ‘Custom Shape Tool’, select from the Options Bar Custom Preset Picker and with a foreground color of your choice draw the new shapes onto the newly created layer.
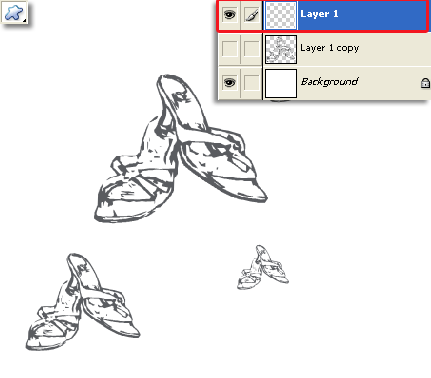
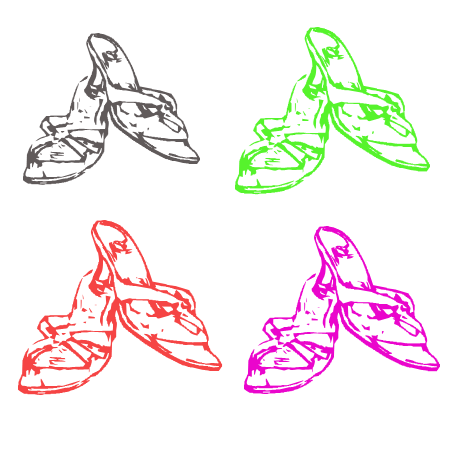
Also with the new custom shape, it’s a breeze to create multiple versions without losing the original shape.