1. Activate the Ellipse Shape tool on the toolbar and draw in the shape.
It’s also best at this stage to trim excess space from your document, or leave just enough to margin between your shapes, as I will do next. (Image/Trim or Draw a Rectangular Marquee then Image/Crop).
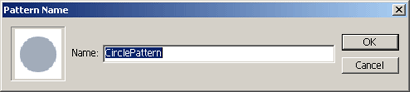
This is the Basis of a new Preset Pattern you will create next.

Minimize this document for now, will be needing this later.
6. Then go to the Toolbar and select the ‘Paint Bucket (G)’ Tool.
(1) Change the ‘Foreground’ option to ‘Pattern’ (as I have captured) (2) Then select your previously made Circle pattern from the drop ‘Preset’ list.
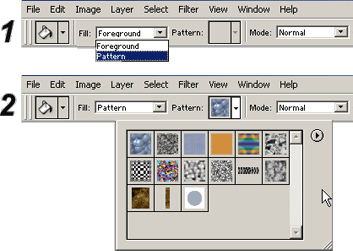
You should now have as I have captured to the right.
Here lies the basis of this tutorial, but below is just a little enhancement.

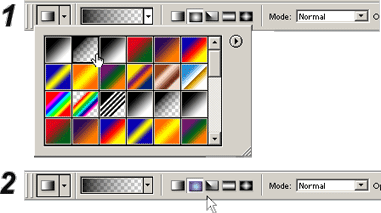
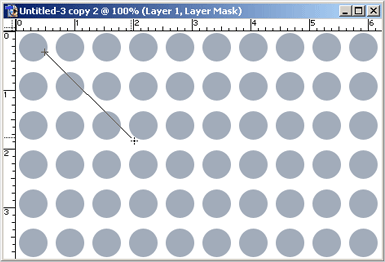
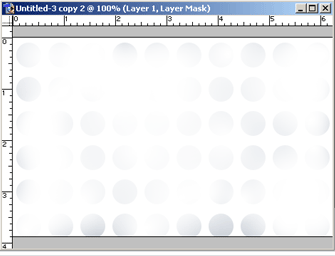
(1.) Select from the ‘Gradient Preset’ drop down list and choose ‘Foreground to Transparent’ (Second from left) (2.) From the Gradient Type Options choose ‘Radial (Second one from left).
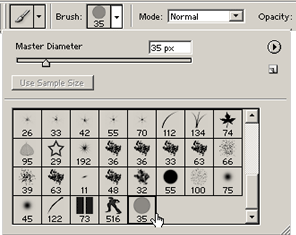
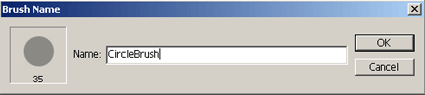
Then go to ‘Edit/Define Brush’ option.
Give it a name as I have captured.
Then up on the ‘Options Bar’ select the ‘Brush Preset’ Drop down options tab and select from the list the Circle Brush you just created. (Should be the last one in the list)
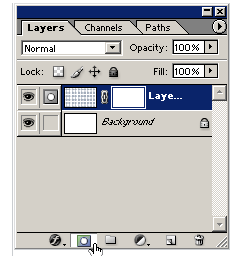
Then I’ll create a new layer (or multiple layers)for the brush images and place them at different locations. (And using different colors and various opacity levels)
Also throw in some text layers.