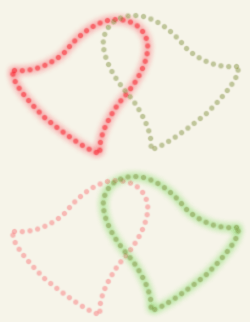
1. Here’s a simple Pen Tool/Path combined with a brush preset animated Christmas bells effect.
2. Start with the ‘Pen Tool (P)’; make sure the ‘Path’ option is selected on the Options Bar.


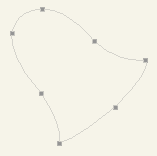
3. Then roughly draw in the shape of the bell. Then use the ‘Convert Anchor Point Tool’ to smooth out the corners as I have captured below. (You can see where I made my Anchor Points)
4. Next, select the ‘Brush Tool (B)’ and then define the preset parameters to use to stroke the above path. (Note the Spacing and the Diameter settings)

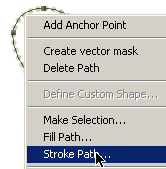
5. Next, set a foreground color (say of green) then select the ‘Path Selection Tool (A)’ from the Tool Bar, and then actually select the bell path you drew earlier. Then, right click and choose ‘Stroke Path’, as I have captured below.
6. Next, create a new layer, select ‘Path Selection Tool (A)’ again and go ‘Edit/Transform Path/Flip Horizontal’ and repeat step 7, except with a foreground color of red.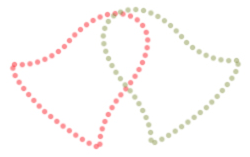
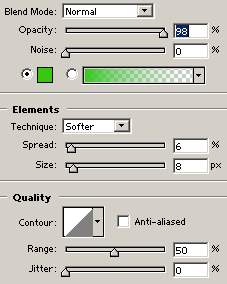
7. Next, I simply added a brighter green (#37C810) glow (blending style)to the green bell as captured below.
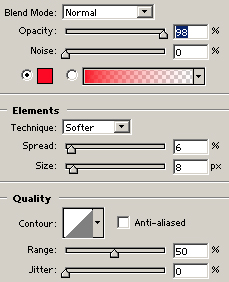
8. Also, I simply added a brighter red (#FB0925) glow (blending style) to the red bell as captured below.
9. Here’s how the bells should look with both ‘Outer Glow’ styles applied.

10. Next, before jumping into ImageReady, lets turn off the Glow Style on the green bell. (Hit the eye symbol to the left of the ‘Effects’ sub layers.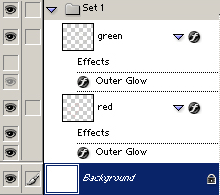
11. Next, hit ‘Shift +Ctrl + M’ to jump to Imageready or click on the Imageready icon located on the bottom of the Toolbar.
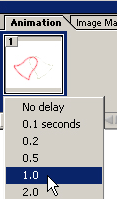
12. While in ImageReady, should appear the first frame in the Animation Window with the settings from Photoshop. (If you do not see the Animation Window, go ‘Window/Animation’ up on the menu bar.
I’ve also adjusted the frame rate from 0 seconds to 1.
13. Next, at the end of the Animation Window, click the menu arrow and choose ‘New Frame’ from the list.

14. Now, here’s what the Animation Window looks like now.

15. Now, while frame 2 is still active in the Animation Window, lets reverse the settings of the red and green bell settings. Simply, turn on green effects and turn off green effects.
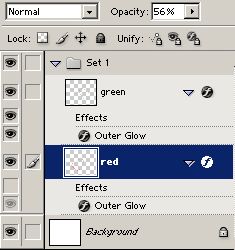
16. Hit the play animation button to see itin action.

17. Finally, go ‘File/Save Optimized As’, to save as an animated gif file.

18. Finally, go ‘File/Save Optimized As’, to save as an animated gif file.

19. Finally, go ‘File/Save Optimized As’, to save as an animated gif file.
