This tool finds pixels of similar value and places a selection around them.
- A selection is formed based on the color of the pixel clicked on, and the amount of ‘Tolerance’ indicated in the ‘Options Bar’.

- On my first attempt, selected most of the blue. (A you can see below)
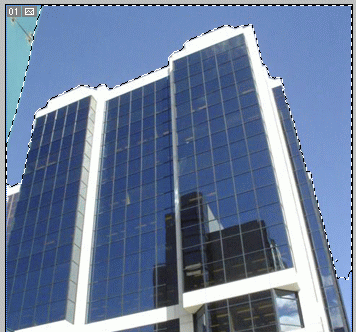
- To continue with the same selection for other unwanted areas, hold the ‘Shift’ key to ‘Add to the Selection Area’ and click on the unwanted ares as I have encircled in red below.
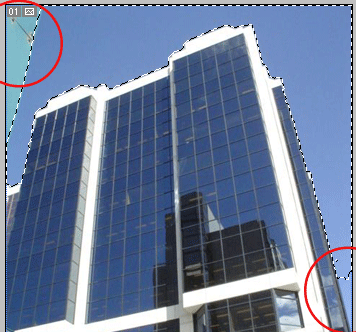
- After clicking those two areas there’s still an area that didn’t make the selection (encircled in red).
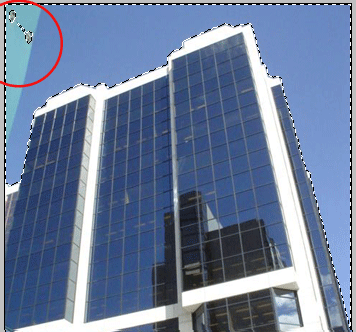
- Simply switch to the ‘Rectangular Marquee Tool (M) (or the ‘Lasso Tool (L)’) hold the ‘Shift’ key to ‘Add to Selection’ and encase the unwanted area to complete the selection as I have captured below. (Notice the Cross hair with the plus symbol)
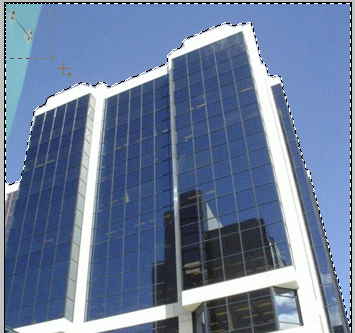
- Now all you have to do is hit the ‘Delete’ key on the keyboard to knockout the background.
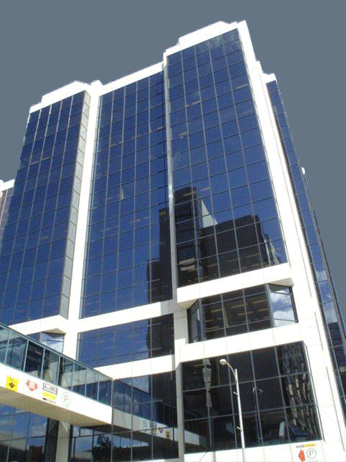
Alternatively, to preserve the actual pixels in your photo you can resort to ‘Shift +Ctrl+I’ to select the inverse and click on the ‘Add Layer Mask’ in the ‘Layers Palette’.
Note:
- Shift key adds to the selection if another selection is active.
- Alt/Option key subtracts to the selection if another selection is active.
- Shift + Alt/Option selects the intersect of two selections.
