Here’s a few simple steps to simulate fractal images.
Though, not a walk-through as such, just a few pointers on what tools to use to achieve these.
Though, not a walk-through as such, just a few pointers on what tools to use to achieve these.
First, start a new document, I used 500X500 preset.
Create a new empty Layer (Shift + Ctrl + N (Mac: Shift + Command + N), just above the default document background Layer.
Create a new empty Layer (Shift + Ctrl + N (Mac: Shift + Command + N), just above the default document background Layer.
Next, select the ‘Gradient Tool (G)’  on the Toolbar.
Then notice up on the Options Bar for that particular tool, the new options that are available. Particularly, the ‘Gradient Preset Picker’, the five Gradient Styles, and the Blend Mode in which to apply the gradient. (As I have captured below)
Select the ‘Gradient Preset Picker’ to define the gradient to use for this effect. I will use the ‘Violet, Orange’ preset as I have selected below.
Then, just to the right of the Gradient Preset Picker, select the second style called ‘Radial Gradient’. 
Also set the Blend Mode to ‘Difference’.
Also set the Blend Mode to ‘Difference’.
Finally, create a new Layer above the default Background Layer and fill it with Black. Then create a new empty Layer Shift + Ctrl + Alt +N (Mac: Shift + Command + Option + N) just above the filled black Layer as I have captured below.
Next with Layer 2 and the Gradient Tool active, click and drag in alternating directions at varying’s strokes.
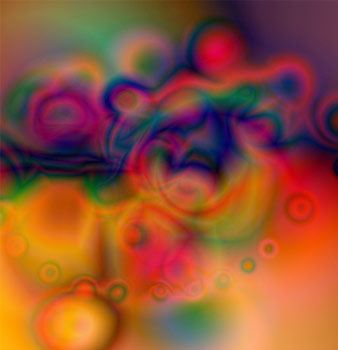
The walk-through ends here, because its not something I can record in screen shots. But here’s my first five random click and drags.
The walk-through ends here, because its not something I can record in screen shots. But here’s my first five random click and drags.

Note: There’s no particular goal here, and each click and drag action creates something random. So, at any stage you can always duplicate the Layer for further experimentation. Also, switch between ‘Difference’ and ‘Exclusion’ Modes for varying effects.
Then, practically, without thinking (which happens a lot), click and drag until you’ve reached a point that the fractal looks goods.
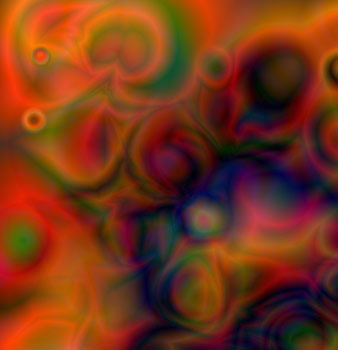
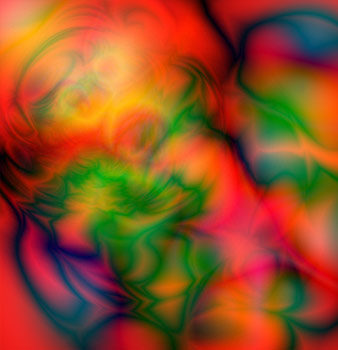
Some variations on this dream, toying with various Blend Modes.
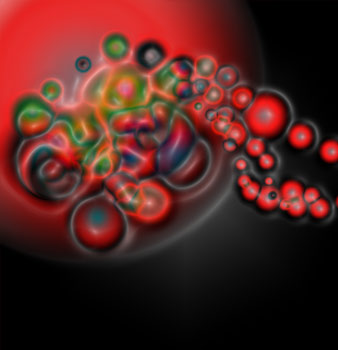
Here are other samples.