Here’s a handy trick to create eye pleasing, seamless blending of text into a textured background.
Start off with a basic image size. (mine is 414×321, background color ‘White’.)
1. Next, create a simple texture, following these steps.
Set foreground (‘Black’) background (‘White’). Then, go to ‘Filter/Render/Clouds’
(You should have a basic texture as below)
2. Next, go ‘Filter/Noise’.
3. Then from the ‘Noise’ control panel, choose the settings that I have set, as captured below.
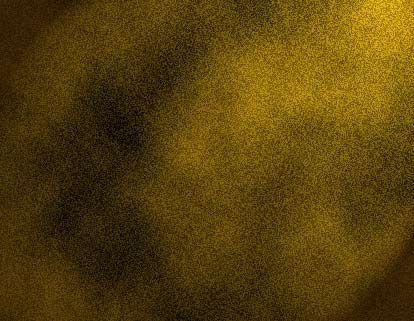
4. For the final texture step, go ‘Filter/Render/Lighting Effects’. (‘Intensity Color’ I used #F4CF0B, ‘Properties Color’ I used #CE820A. Ultimately, your choice!) And set the rest of the properties as I have captured.
5. Here’s what the texture should look like.
6. Then on a new ‘Layer’ stacked above the texture ‘Layer’, add a ‘Text’ Object. I used the word ‘Disappear'(Color of #ffffff).

7. Now right click on the ‘Text’ Layer in the ‘Layers Palette’ and from the context menu choose ‘Blending Options’.
From the ‘Layer Style’ control panel select on the left (I have boxed in red) the ‘Blending Options: Custom’ tab. Once there, move down towards the bottom and adjust the sliders that I have encircled in red. Then watch your text layer, blend in with the ‘Underlying Layer’
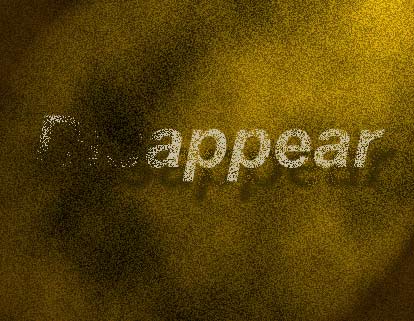
8. Here’s my final result.
Your results may vary depending on your slider adjustments.
Further Styles can also be applied, as I added a ‘Drop Shadow’, and also the text remains edit able.