Here’s a detailed step by step on how to simulate animating clouds integrating Photoshop and ImageReady tools.
Lets begin this tutorial directly inside Photoshop.
First, start a new document, I used a small preset of 392×180. (Knowing that ImageReady animations can be quite large in file size, I kept this tutorial to a minimum. Although, exporting to Quick time movie can also be effective, if you choose to work with a larger document size.)
I first set the Background color layer to a variant of grey, (I used #D1CECE) just to offset the contrast the box I will create to contain the animated clouds.
Create a new empty Layer (Shift + Ctrl + N (Mac: Shift + Command + N)), which should default to ‘Layer 1’, just above the default document background Layer.
Next, select the ‘Rectangle Tool (U)’ ![]() and click and drag to draw a solid box onto the document. Make sure ‘Shape Layers’
and click and drag to draw a solid box onto the document. Make sure ‘Shape Layers’ ![]() is selected on the Options Bar.
is selected on the Options Bar.
Here is the shape layer.
(Note: The grey is the background layer and the white square is the shape layer (‘Layer 1’ now defaults to ‘Shape 1’).
Here is the ‘Layers Palette’ thus far.
The next few steps will apply some blending styles to this ‘Shape 1’ layer to achieve a simple chrome edged border that resembles somewhat of a flat screen tv.
So, select the ‘Shape 1’ layer in the ‘Layers Palette’ and right-click (Mac: Control + click) and from the context menu items choose ‘Blending Options’ as I have captured below.
Beginning with a simple ‘Drop Shadow’ parameters below. (Blend Mode color is Black/ #000000)
Then apply the below ‘Inner Shadow’ parameters. (Blend Mode color is White/ #ffffff)
Then apply the below ‘Inner Glow’ parameters.
Finally, apply these ‘Stroke’ settings. (Gradient color is Black/#000000 to White/ #ffffff)
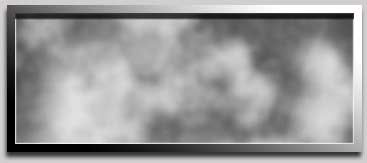
Here is the result of the above ‘Blending Options’.
Here is the expanded Layers view of ‘Shape 1’
Next, lets apply the cloud texture to this tv screen.
Select the ‘Shape 1’ Layer in the Layers Palette, then go to ‘Layer/New Fill Layer/Pattern…’, and at the below prompt, tick the ‘Use Previous Layer…’ option, then hit OK.
This will prompt you to the ‘Pattern Fill’ dialog, so change the default ‘Bubbles Pattern’ to the ‘Clouds Pattern’ , as I have captured below. Also resize the Pattern to a realistic level. (I used 370%)
This is the result of the Pattern application.
Here is the resulting ‘Layers Palette’ view.
Note: The indented ‘Pattern Fill’ layer represents that ‘Use Previous Layer…’ option you ticked earlier, and is masked by its base layer below it (‘Shape 1’).
Also, double clicking on the ‘Pattern Fill 1’ layer thumbnail will return you to the ‘Pattern Fill’ properties for modification, if necessary.
Just a few more steps, before jumping to ImageReady.
Select the ‘Pattern Fill 1’ layer in the ‘Layers Palette’, right-click (Mac: Control + click) and choose ‘Blending Options’.
And apply the following two blending options to give this cloud texture some color and depth.
First, apply the ‘Color Overlay’. A variant of blue is what I used (#477FC7), and ‘Hard Light’ seemed to produce the best result.
Second, lets add depth to this cloud texture by applying it again, using a different ‘Blending Mode’ (Multiply) and altered size (I used 216%), with the ‘Pattern Overlay’. Then hit OK to complete the Blending Options.
Those two blending options produced the below result. Quite an improvement from the original black and white ‘Pattern Fill 1’ application.
Here’s the expanded Layers Palette view.
Now we are ready to jump to ImageReady. If you havn’t done so already, at this point, save your document.
Then hit the ‘Edit in ImageReady’ button on the Toolbar. ![]()
This will launch the currently open document into ImageReady.
Once open, make sure the ‘Animation Palette’ (Window/Animation) and the ‘Layers Palette’ (Window/Layers) are visible and are positioned within your workspace area for easy access.
Next, lets begin to add a new Animation Frame by simply clicking the ‘Add New Frame’ Button (encased in red) at the lower right of the Animation Palette.
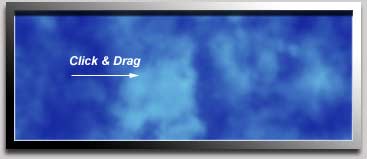
While ‘Frame 2’ is selected, make sure ‘Pattern Fill 1’ layer in the ‘Layers Palette’ is also active, and directly onto the document window, hold Shift key and drag the clouds pattern to the right.
Again, create a new Frame and repeat the click & drag process, so that the clouds pattern is working its way offscreen to the right.
And, again create a new frame, and reat the click and drag process.
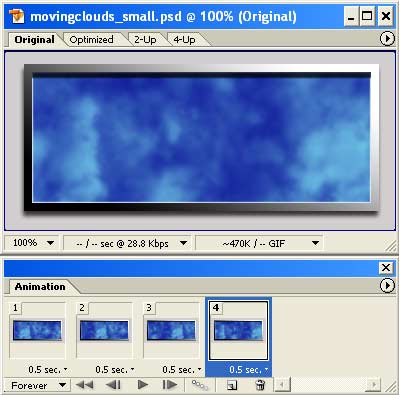
Repeat one more time so that the area I have encircled in red is no longer visible in the final frame. The concept of creating a seemless animation is to eliminate all of the original (Frame 1) image.
Note: When we created this Pattern I resized it to 370%, so you can repeat the above process quite a few more times before you even see a repeat region.
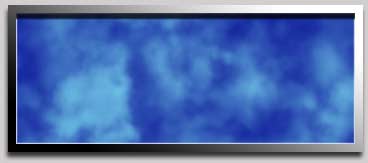
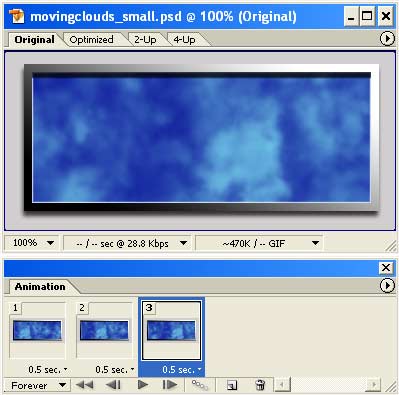
Here is the final frame application and changes to the document window.
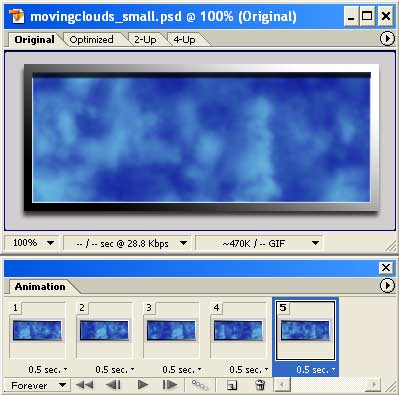
You’ll probably realize it’s a tab bit to fast, so let’s bump up the looping speed from ‘No Delay’ to ‘0.5’ seconds (Shift click all frames to select all, then change the looping speed to apply to all frames, rather than doing it one by one), and change the looping method from ‘Once’ to ‘Forever’.
Save the .psd file to your hard drive, then choose ‘Save Optimized As’ from the ‘File’ menu options.
Here is the final result.